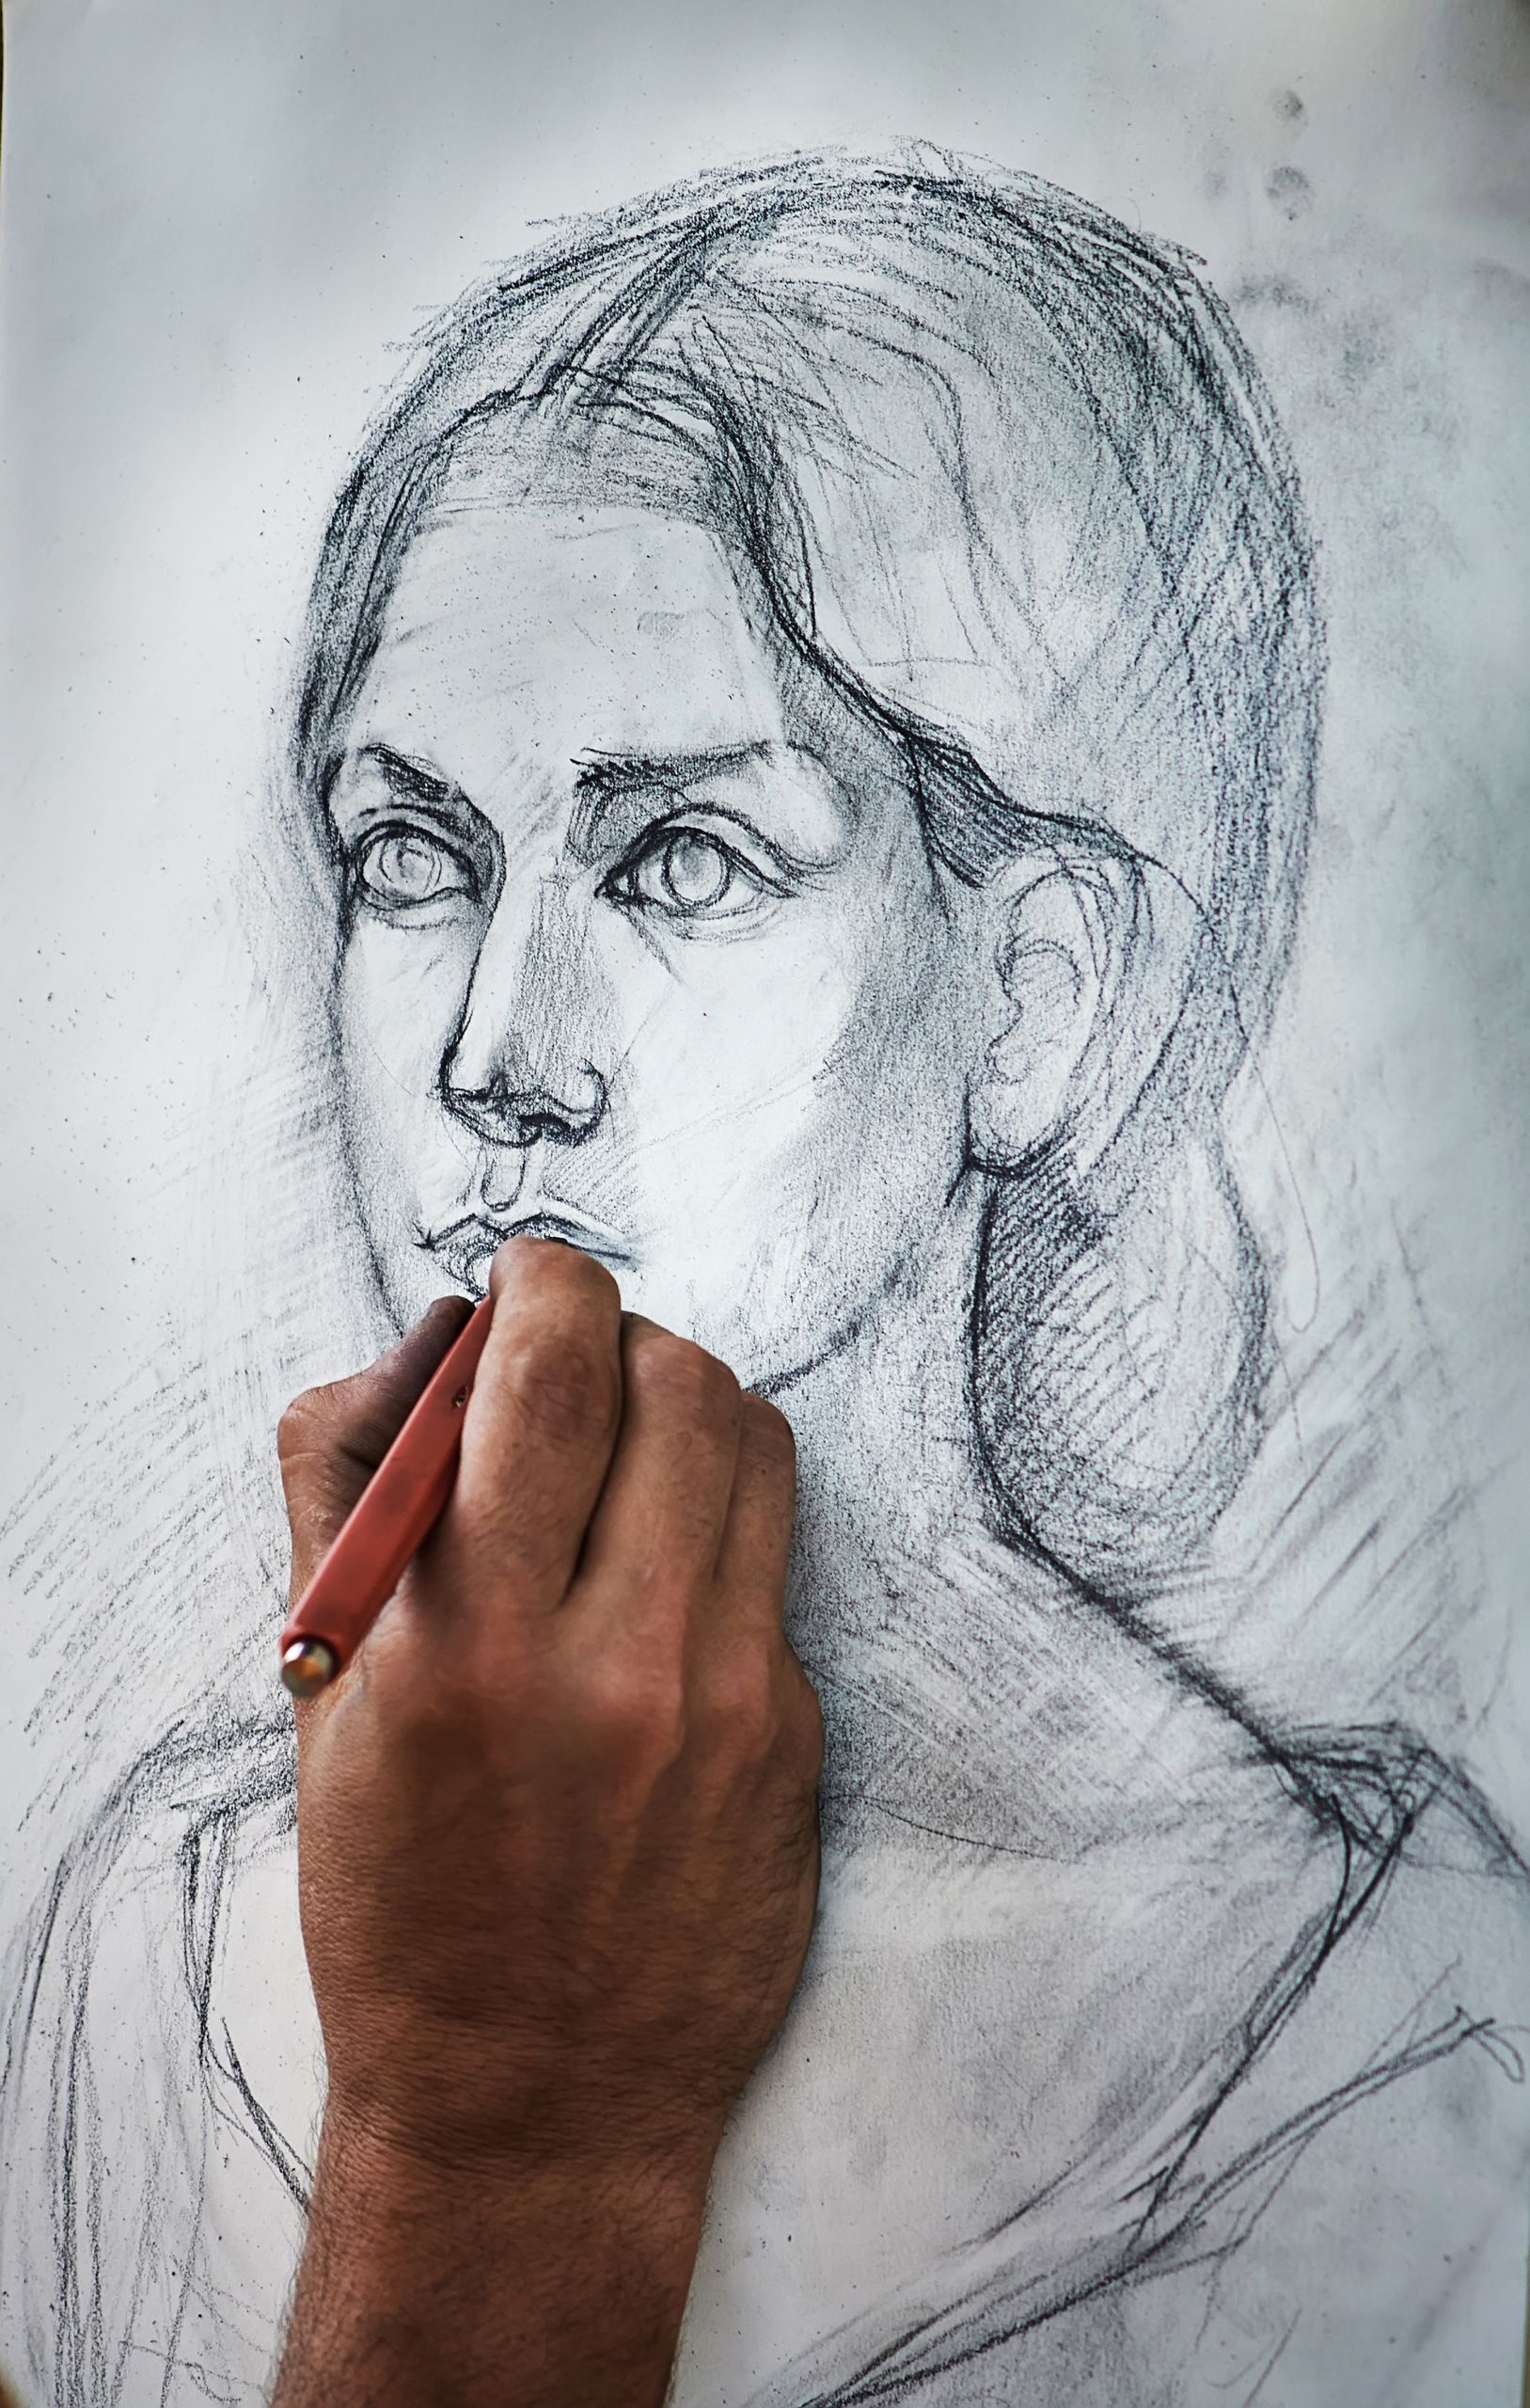
Every artist you admire — from Leonardo da Vinci to your favorite Instagram illustrator — started with the same thing you’re holding right now: a blank page and a pencil. Sketching isn’t a talent you’re born with. It’s a skill built from repetition, observation, and a bit of scientific understanding about how your brain and hand learn to work together. If you’ve ever felt intimidated by a sketchbook, take a breath. This guide will walk you through the best sketching tips for beginners, how to plan your art before you draw a single line, and how to execute master sketching techniques that actually stick.
Why Sketching Feels Hard (and Why That’s Normal)
Neuroscience tells us that drawing is a complex coordination task. Your eyes gather visual information, your brain translates that into spatial reasoning, and your hand executes fine motor movements — all in real time. This is why your first hundred sketches might look nothing like what you imagined. Researchers who study motor learning describe this as the “cognitive phase” of skill acquisition: your brain is still building the neural pathways that will eventually make sketching feel automatic. Every wobbly line is literally your brain wiring itself for better performance. So the first and most important tip is this: give yourself permission to draw badly. It’s not a detour from progress — it is progress.
Step 1: How to Plan Your Art Before You Draw
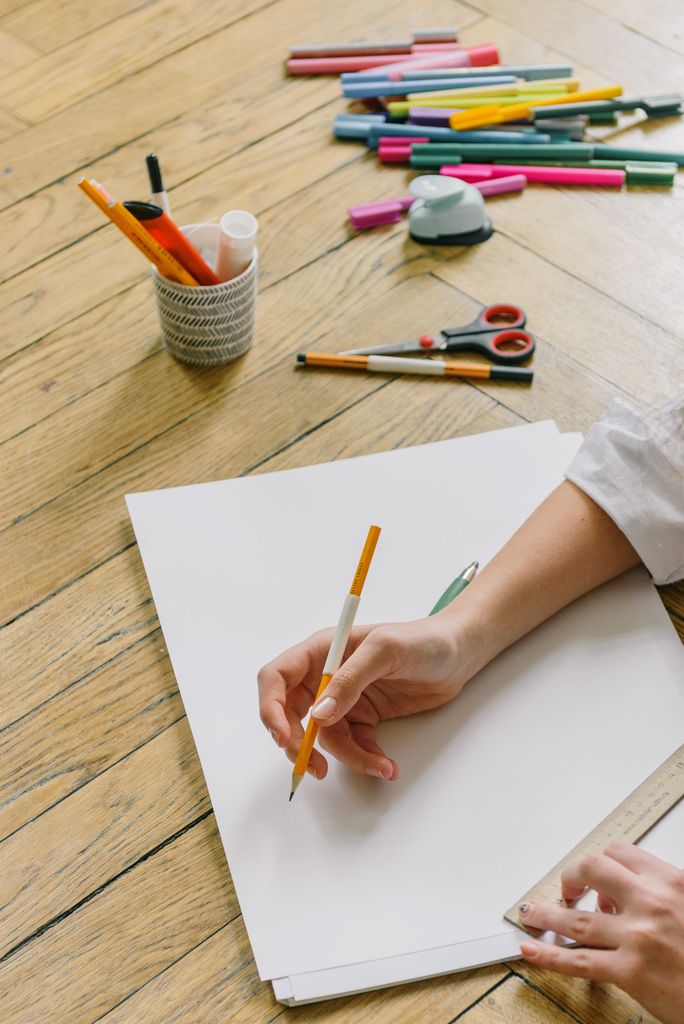
Most beginners skip planning entirely, diving straight into details before they understand the whole picture. This is a bit like trying to build a house by laying bricks without a blueprint. Planning your art doesn’t mean stifling creativity — it means setting your creativity up to succeed.
Start with thumbnails. Before committing to a full-sized sketch, draw 3–5 tiny, rough versions of your composition (about the size of a postage stamp). This lets you experiment with layout, balance, and focal points without the pressure of “getting it right” on a big canvas.
Identify your light source. Decide early where light is coming from. This single decision determines your shadows, highlights, and the overall mood of the piece — and it’s far easier to plan than to fix later.
Break your subject into basic shapes. Whether you’re sketching a portrait, a landscape, or a still life, look for the underlying geometry — circles, ovals, cylinders, and rectangles. This is a core principle taught in classical atelier training and it works because our brains are naturally wired to recognize simple shapes before complex ones.
Set a time limit. Give yourself 5–10 minutes to plan before you sketch. Constraints paradoxically boost creativity by narrowing decision fatigue, a phenomenon well documented in cognitive psychology.
Step 2: How to Execute Master Sketching Techniques
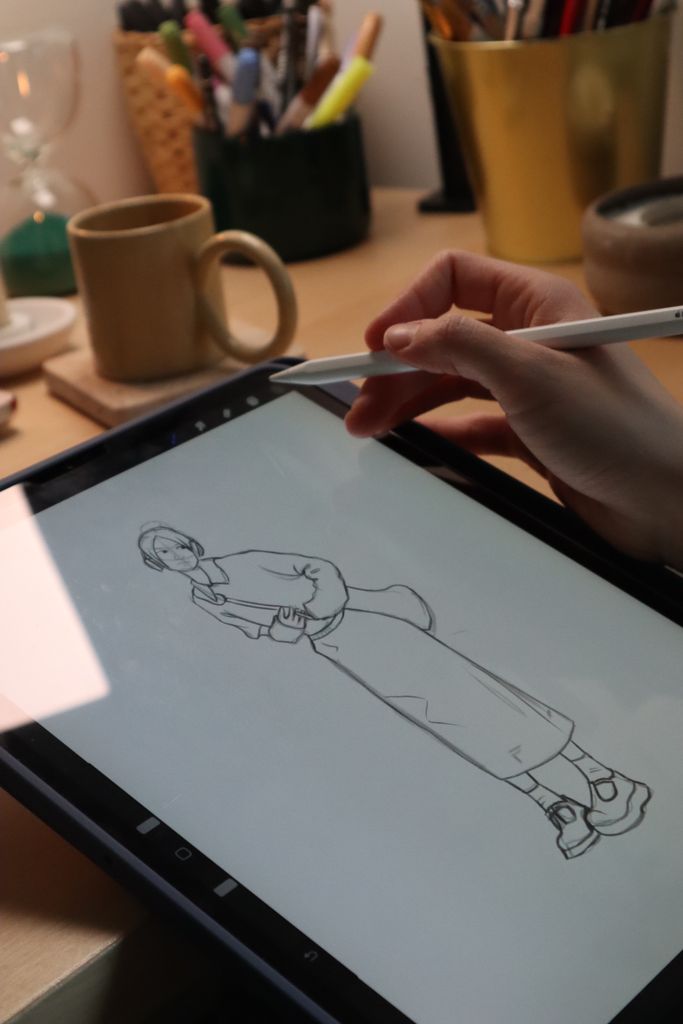
Once your plan is in place, execution is where the magic — and the science — happens.
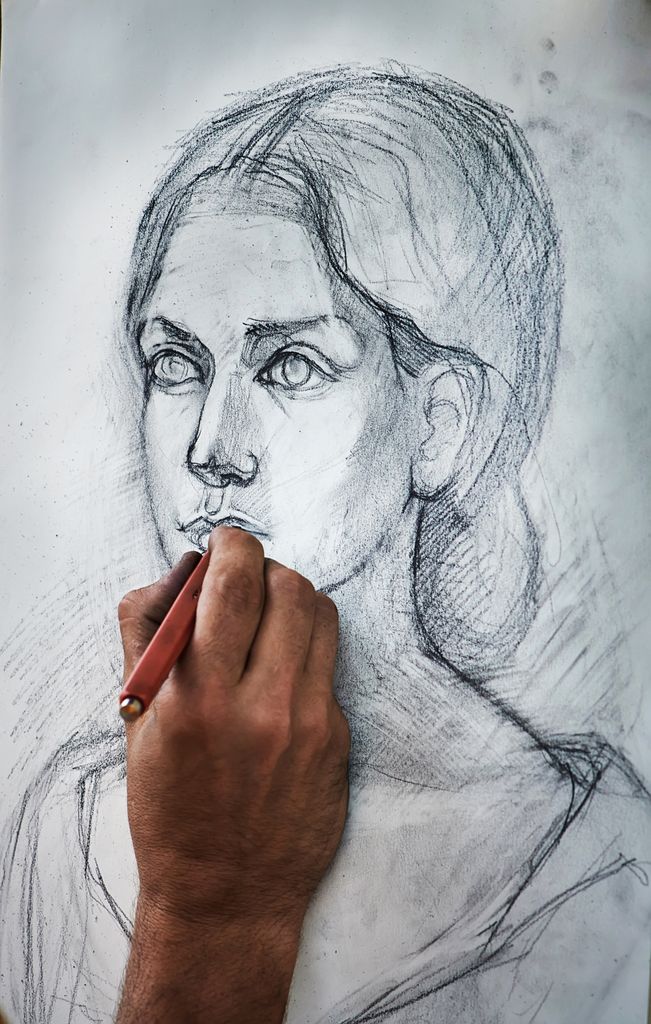
Draw from the shoulder, not the wrist. Professional sketch artists use their whole arm for long, confident lines rather than short, shaky wrist movements. This produces smoother curves and reduces hand fatigue, since larger muscle groups have more control over sweeping motion than small ones.
Use light construction lines first. Sketch your basic shapes and proportions with a light touch, then gradually darken the lines you want to keep. This layered approach mirrors how our visual system processes images — broad strokes first, fine detail later.
Measure with your pencil. Hold your pencil at arm’s length and use it to compare proportions (like the classic “head-to-body ratio” technique). This simple trick corrects one of the most common beginner mistakes: distorted proportions caused by drawing too close to the subject.
Practice gesture drawing. Spend five minutes a day doing 30-second to 1-minute sketches of moving subjects (people, pets, even videos). Gesture drawing trains your brain to capture the essence of a pose rather than getting lost in details — a technique praised by animators and figure-drawing instructors alike.
Embrace negative space. Instead of only looking at your subject, study the empty space around it. Training your eye to see negative space improves spatial accuracy and is one of the fastest ways to correct proportion errors.
The Science of Practice: Why Consistency Beats Intensity
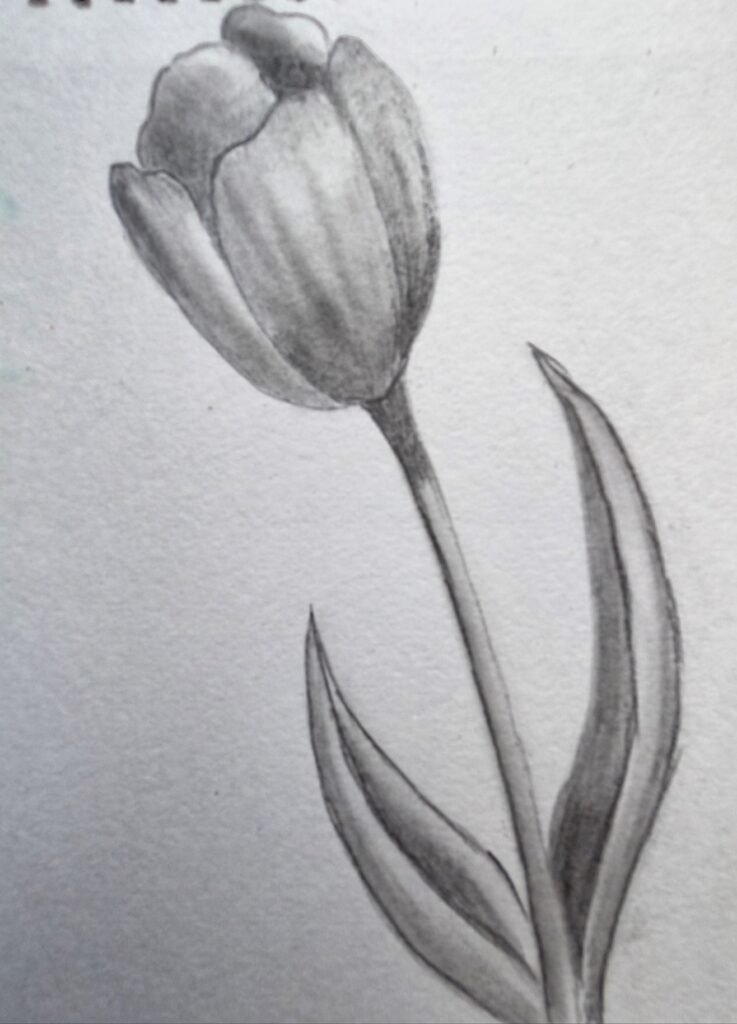
A well-known study on skill acquisition found that spaced, consistent practice sessions lead to stronger long-term retention than infrequent marathon sessions. In sketching terms: 15 minutes a day for a month will improve your skills more than one 8-hour drawing binge. This is because your brain consolidates motor memory during rest — particularly during sleep — so daily short sessions give your neural pathways more opportunities to strengthen.
Keep a dedicated sketchbook and date every page. Not only does this create a visual record of your progress (which is deeply motivating), but flipping back through old sketches also activates a psychological principle called “progress monitoring,” which research links to sustained motivation and reduced dropout in skill-based hobbies.
Common Beginner Mistakes to Avoid
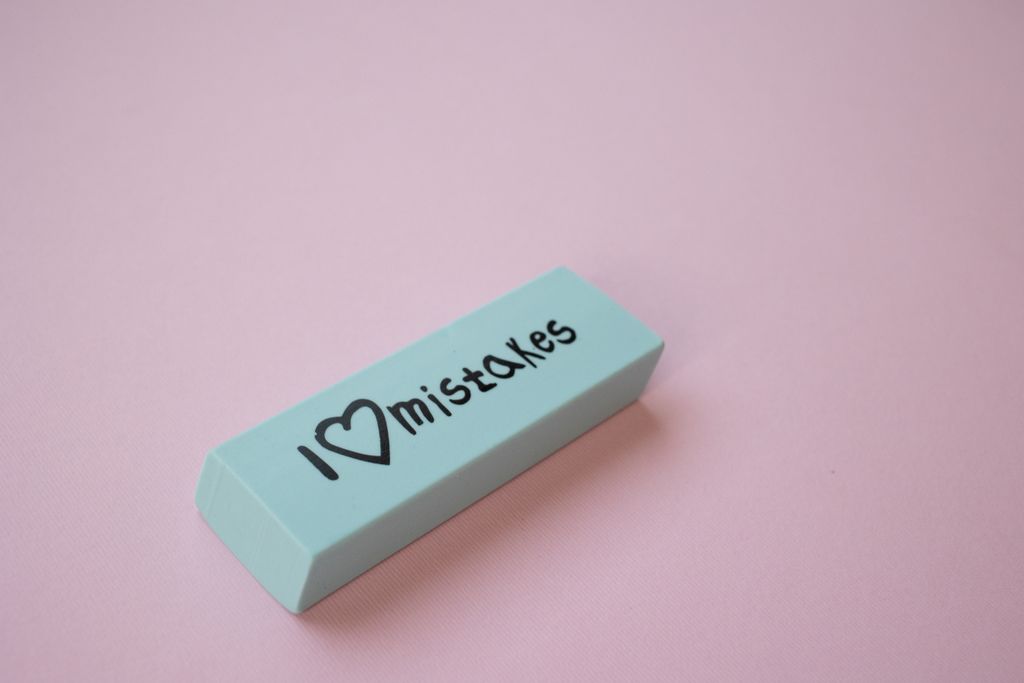
Erasing too much?
Mistakes are data, not failures. Leave some construction lines visible; they show your thought process and often add energy to a sketch.
Ignoring proportions in favor of details. Detail is meaningless if the underlying structure is off. Always establish proportion before rendering.
Comparing your Chapter 1 to someone else’s Chapter 20.
Every artist you admire has a graveyard of early sketches they’d never show anyone.
Your Next Sketch Starts Now
The best sketching tips for beginners all point back to one truth: sketching is equal parts art and science. When you learn how to plan your art with intention and execute your sketches with proven techniques, you’re not just making pretty pictures — you’re training your brain and body to work in harmony. Pick up your pencil, sketch something small today, and trust the process. Mastery isn’t a single leap; it’s thousands of small, honest lines, one page at a time.