Art & Practice
A simple, no-pressure plan for beginners and rusty artists · 30 days · 30–45 minute.
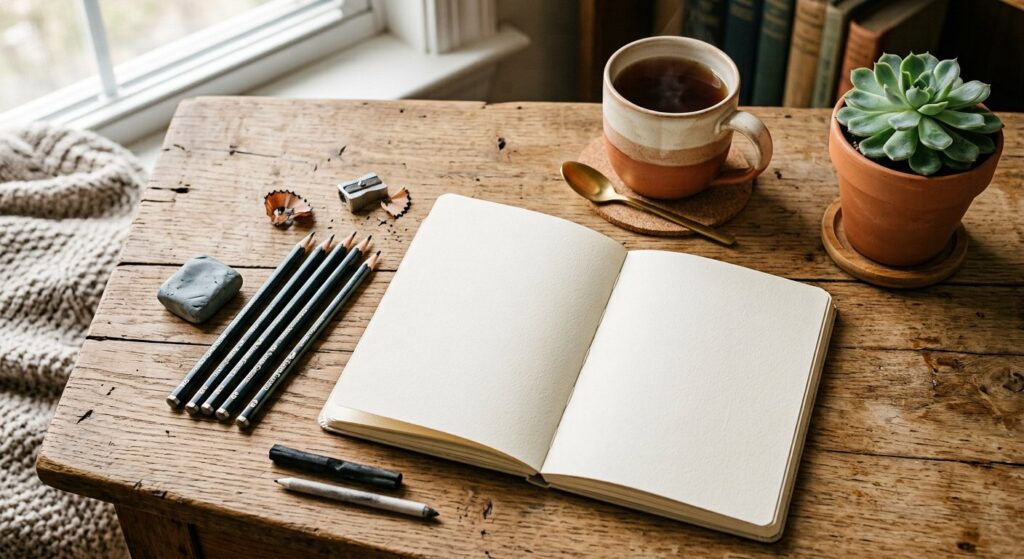
Everything you need to start is already on your table.
Most people don’t get better at drawing because they don’t draw. Not because they lack talent, not because they bought the wrong pencils — but because they wait for a big free Sunday that never comes.
Here is the honest truth about art practice: thirty minutes every day beats four hours once a week. Drawing is a skill of the hand and the eye, and both are trained by repetition. A month of small, daily sessions will change your work more than a year of occasional inspiration.
This plan gives you exactly what to do on each of the 30 days. No theory overload. No expensive supplies. Just sit down, follow the day’s task, and move on.
What you need before Day 1
One sketchbook. Any size. Cheap is better — you’ll be less afraid to ruin it.
Two pencils. An HB for light lines, a 2B or 4B for shading. That’s it.
An eraser and a sharpener. Kneaded erasers are lovely, but a plain rubber works.
One reference source. A window with light, a lamp, a fruit bowl, or free reference photos on your phone.
A timer. Thirty to forty-five minutes, phone in another room.
Set one rule for the whole month: you finish the day’s drawing, even if it’s bad. A bad drawing that exists teaches you more than a perfect drawing you never started.
Week 1: Getting your hand and eye to agree
Your first week is not about making beautiful pictures. It’s about control — making your hand put the line where your eye wants it.
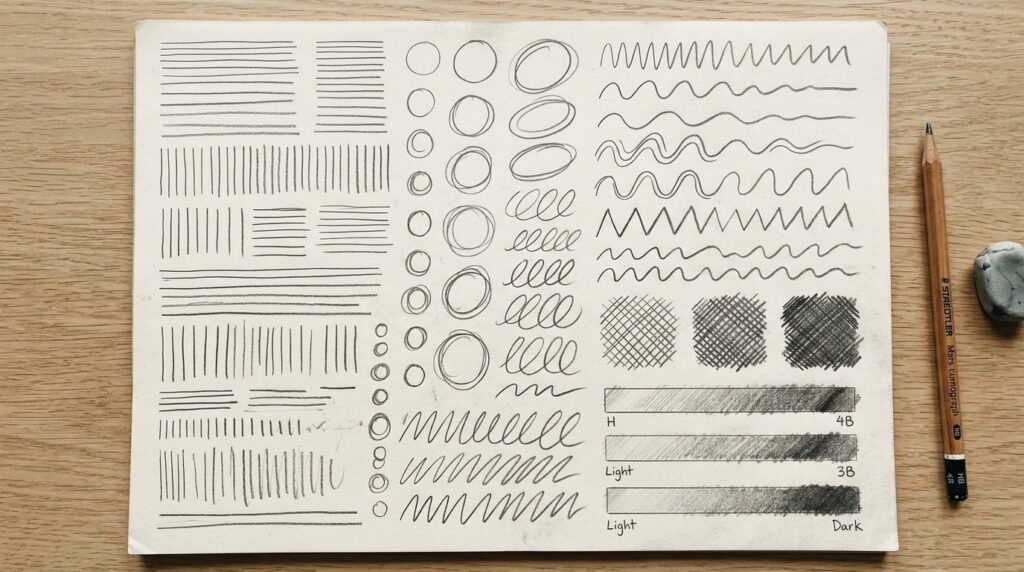
Week 1 drills. They look boring. They are the whole foundation.
The daily warm-up (do this every single day, 5 minutes)
Fill half a page with straight parallel lines, using your whole arm, not just your wrist.
Draw twenty circles of different sizes, trying to close each one cleanly.
Draw a wavy line across the page, slowly, without lifting the pencil.
Days 1–7 tasks
Day
Task
1
Warm-up, then draw every simple object within reach: mug, keys, phone, remote. 2 minutes each, no erasing.
2
Warm-up, then break those objects into basic shapes — circles, boxes, cylinders. Draw the shapes only.
3
Warm-up, then draw ten spheres. Shade each one slightly darker than the last.
4
Warm-up, then draw ten boxes in different angles. Light lines, no detail.
5
Warm-up, then draw ten cylinders — a bottle, a can, a glass, a tube.
6
Warm-up, then combine: draw a mug as a cylinder plus a handle box. Repeat with five household items.
7
Rest day with a small treat: copy one drawing you admire, slowly and badly. Just to feel how someone else’s lines move.
The one idea of this week: everything you see is made of spheres, boxes and cylinders. Train yourself to see the shape first, the details later.
Week 2: Light, shadow and making things look solid
Shading is the fastest way to make your drawings look dramatically better. Beginners shade timidly; good drawings have strong, simple contrast.
Days 8–14 tasks
Day
Task
8
Make a five-step value scale: white, light grey, mid grey, dark grey, black. Practise until each step is distinct.
9
Shade one sphere with a single light source. Find the highlight, midtone, core shadow and cast shadow.
10
Draw an egg or a potato under a lamp. Shade it fully. Go darker than feels comfortable.
11
Learn crosshatching. Shade a simple object using only parallel lines in two directions.
12
Still life: an apple and a mug side by side. Same light source for both, and one shadow connecting them.
13
Drapery practice: crumple a t-shirt or towel and draw its folds. Folds are just tubes and cones.
14
Review day. Put Days 8–13 side by side and write one sentence about what improved.
The one idea of this week: light is what makes form readable. If your drawing looks flat, the answer is almost always “more contrast” — darker darks, cleaner lights.
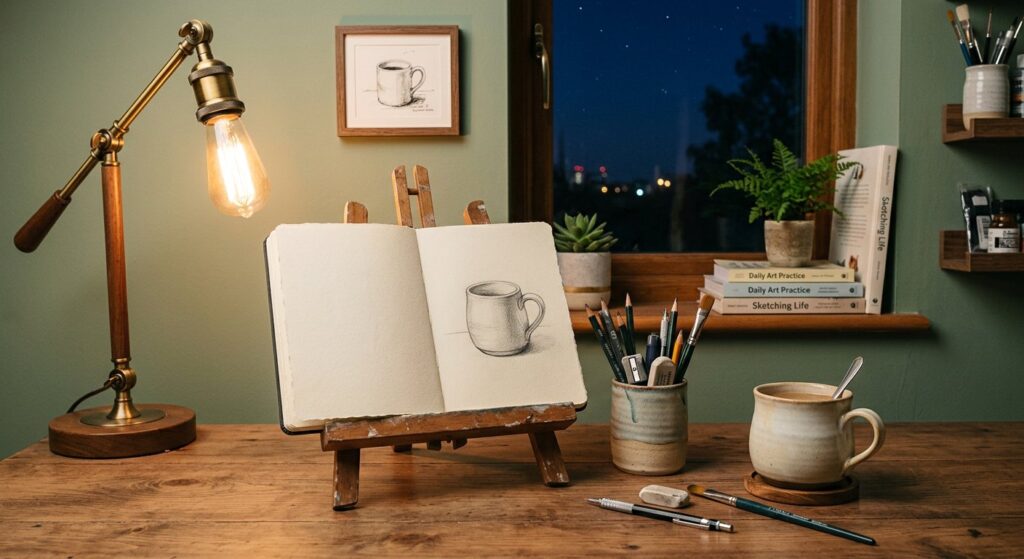
Same chair, same lamp, same time. Routine does the heavy lifting, not motivation.
Week 3: Proportions, faces and the human figure
Faces are where most people give up, because they draw what they think a face looks like instead of what’s in front of them. This week is about measuring.
Days 15–21 tasks
Day
Task
15
Draw the simple face map: eyes halfway down the head, nose halfway to the chin, mouth a third below that.
16
Draw eyes only — five pairs, from a photo or a mirror. Focus on the shape of the eyelid, not the eyelashes.
17
Noses and mouths. Five of each. Use straight lines and simple shadows, not outlines.
18
Full face, front view, from a photo. Use the map. No hair, no earrings — structure only.
19
Same face in three-quarter view. Notice how features shift toward one side.
20
Hands. One open, one holding something. Draw the palm as a rounded box, fingers as cylinders.
21
Gesture drawing: fifteen 30-second poses from a reference site, capturing only the line of movement.
The one idea of this week: measure before you draw. Hold your pencil at arm’s length, compare the head to the shoulder width, and check again after every few lines. Accuracy is a habit, not a gift.
Your eyes are the muscle that improves fastest. Your hand simply follows.
Week 4: Composition, speed and finishing things
The final week pulls everything together and, most importantly, teaches you to complete a drawing. Unfinished sketches teach almost nothing.
Days 22–30 tasks
Day
Task
22
Composition study: draw the same still life three times at different sizes and angles. Pick the strongest.
23
One-hour timed drawing of a shoe or a bag. Finish it completely — outline, shading, cast shadow.
24
Draw from memory: your own bedroom. Then look around and note three things you missed.
25
Copy a master study — any simple sketch by an artist you love. Analyse why their lines work.
26
Texture day: wood, fabric, glass, fur, skin. Small squares, but push each one hard.
27
Person study: a full figure from a photo, simple and fast. Proportions first, features last.
28
Start your final piece — a subject you actually care about. Pencil only, plan the composition.
29
Continue the final piece. Shade, refine, add one background element.
30
Finish it. Sign it. Then place it beside your Day 1 page and look at the gap.
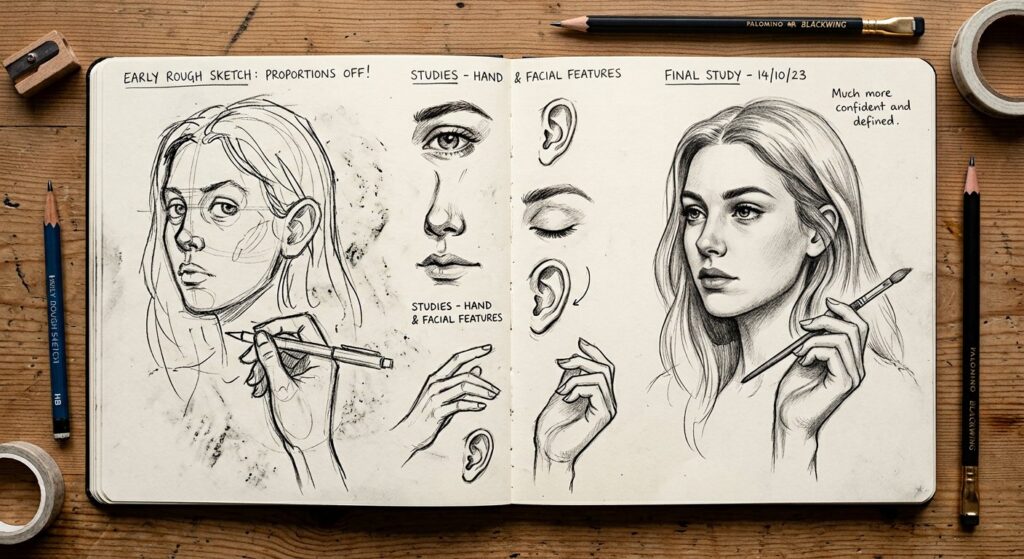
The most motivating page in any sketchbook: the side-by-side.
Five habits that make the plan work
1. Draw at the same time every day
Morning coffee, lunch break, or right before bed. Attaching practice to something you already do makes it automatic. Willpower is unreliable; routine is not.
2. Date every single page
Write the day number and the date in the corner. In six months you will not remember how your drawing looked on Day 3 — the date will remind you, and that reminder is what keeps you going.
3. Never tear a page out
Even the ugly ones. Your sketchbook is a record, not a gallery. Tearing pages teaches your brain that mistakes are dangerous, and a scared hand draws stiffly.
4. Keep one drawing short
If you only have ten minutes, do the warm-up and one small object. Ten imperfect minutes keep the chain alive; a skipped day starts the excuses.
5. Compare, but only backwards
Social media will show you artists with twenty years of practice. Compare your Day 20 to your Day 2, never to someone else’s Day 7000.
Why progress feels invisible (and why it isn’t)
Skill does not grow in a straight line. It looks flat for days, then jumps. Around Day 10 many people quit, convinced nothing is happening. That is exactly the point where the eye starts seeing faster than the hand can keep up — a good sign, though it feels like failure.
Trust the schedule. By Day 30 you will hold a stack of pages that prove something simple: you can draw because you drew. Thirty days later, keep going with the same structure — and by Day 60, other people will start calling you good.
Your 30-day checklist
Six warm-up pages
Roughly forty quick object studies
Ten shaded forms and one still life
Seven face, hand and figure studies
Three composition exercises
One finished, signed piece on Day 30
Now close this page, get a pencil, and start Day 1. The blank page is only frightening until you make the first mark.