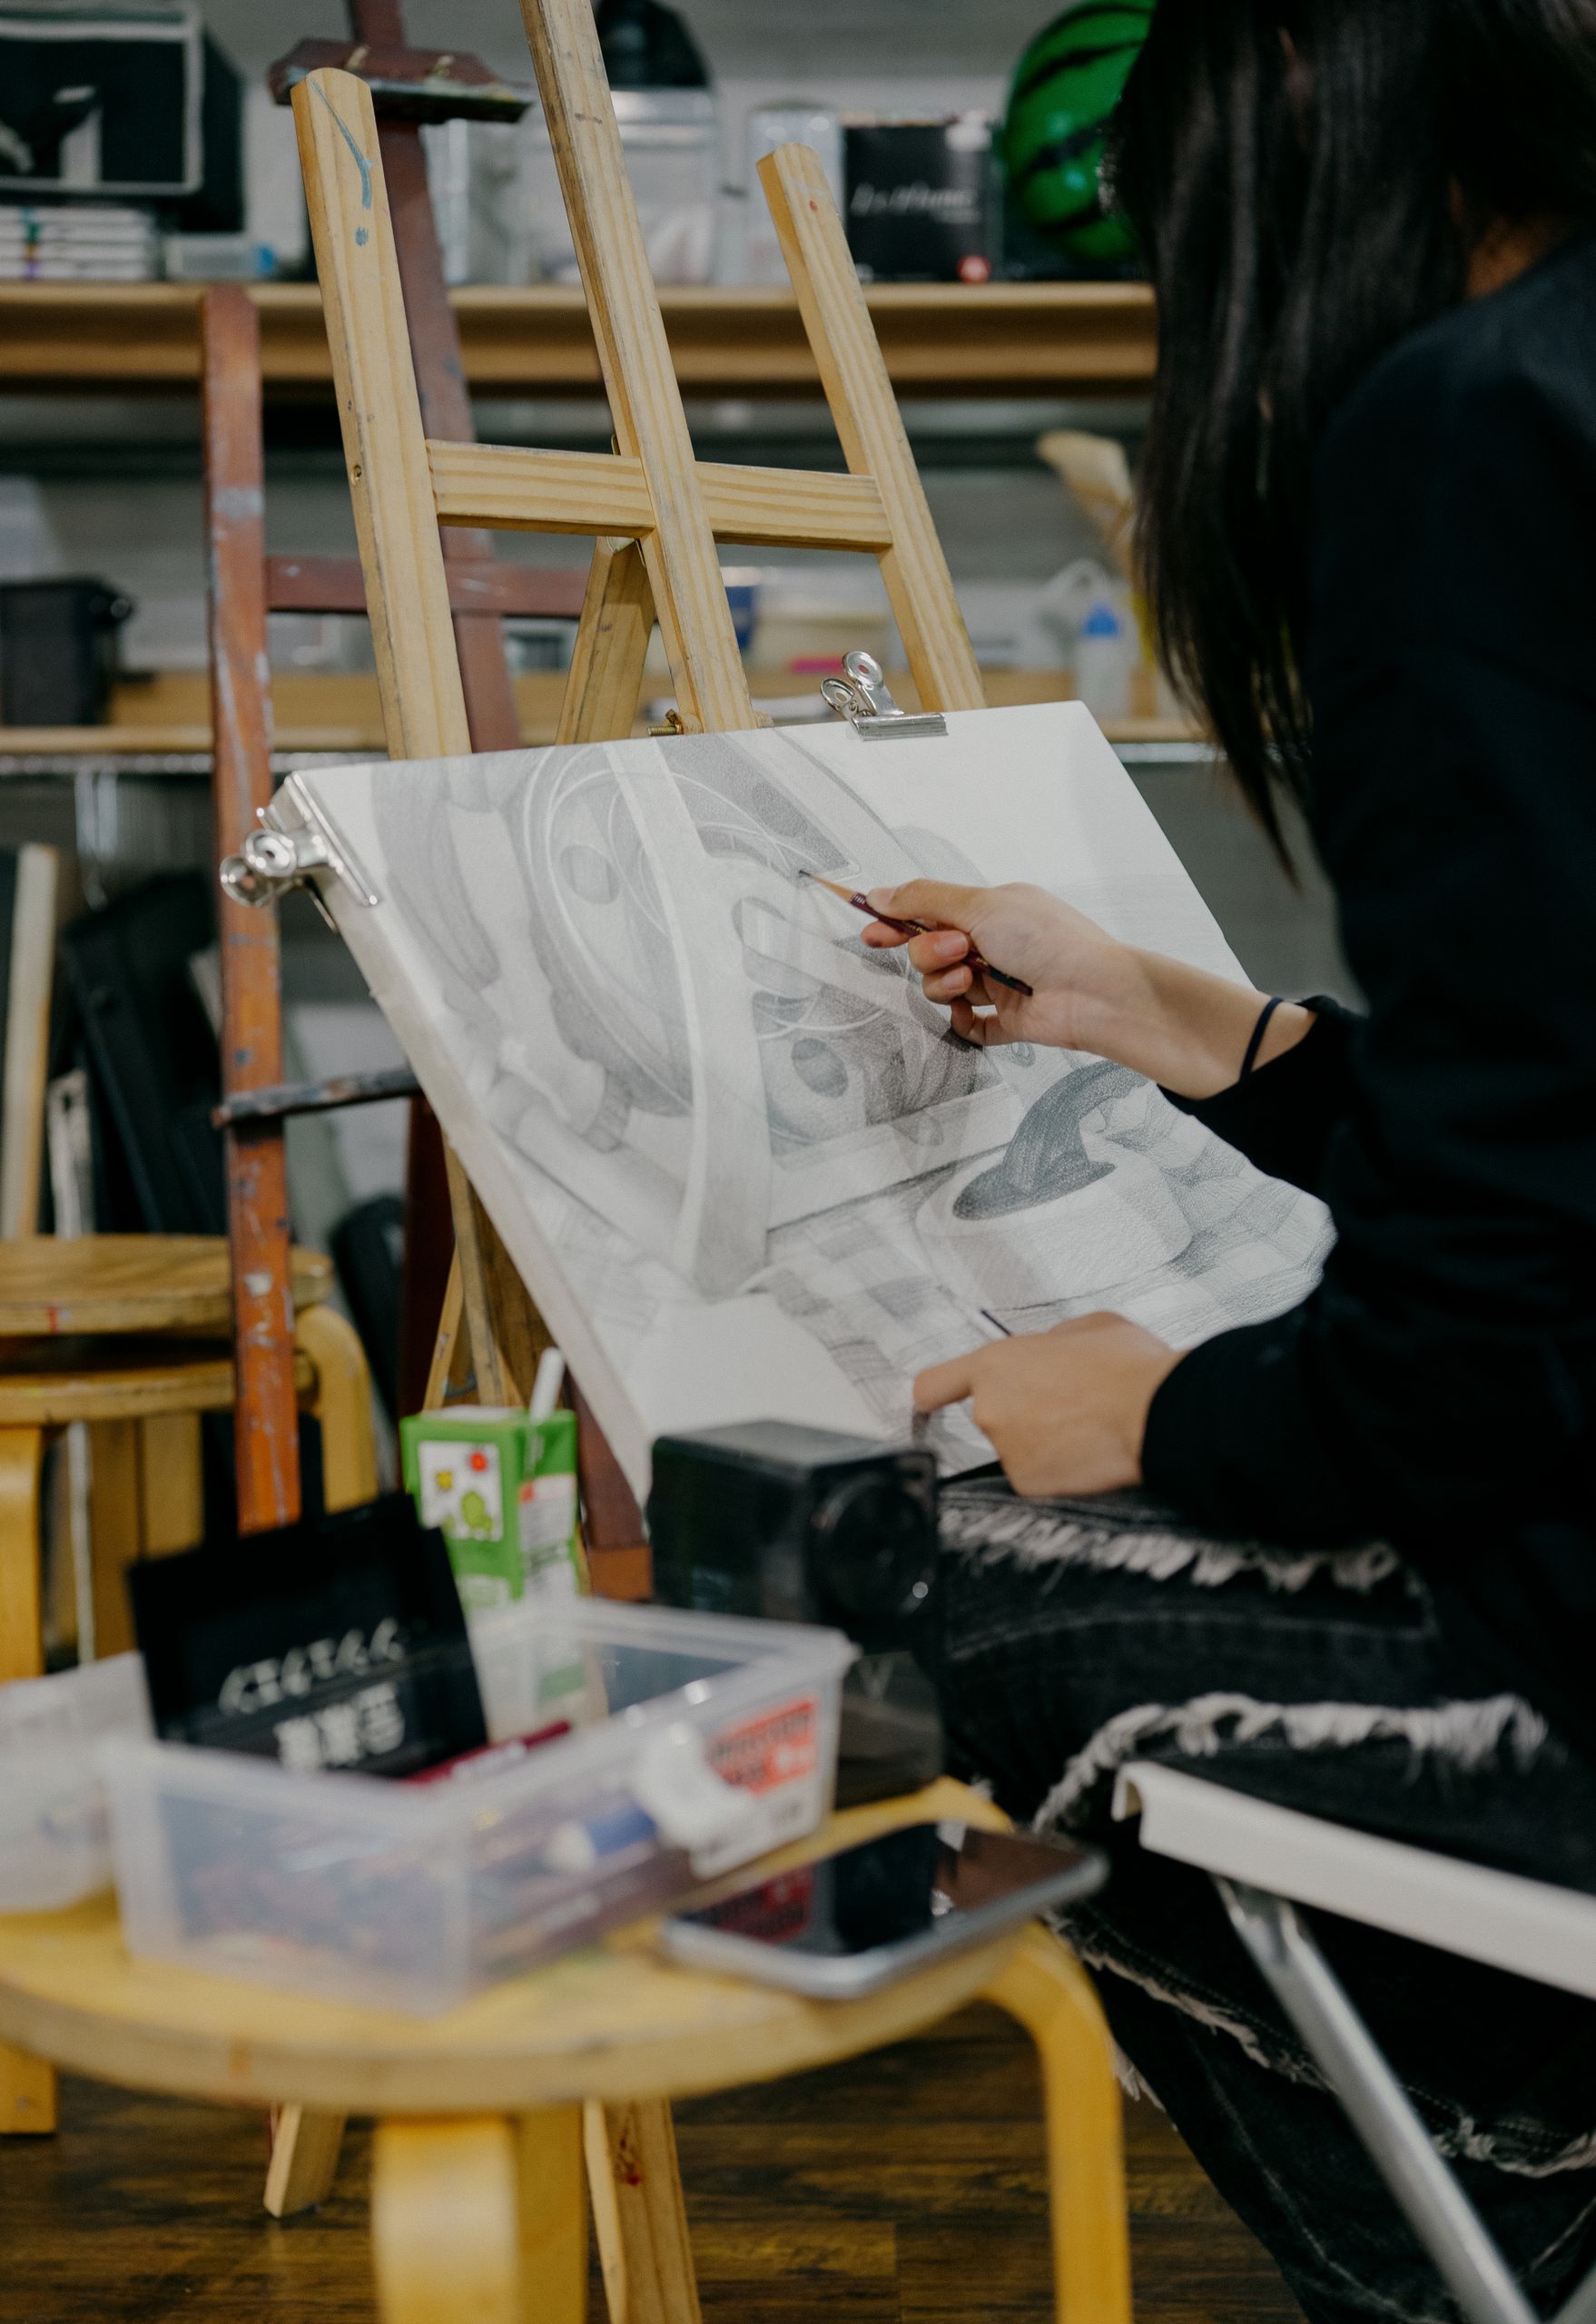
You’ve spent hours hunched over your sketchbook, pencil in hand, trying to capture a face, a hand, or a still life exactly as you see it. But no matter how hard you try, something feels off. The proportions seem slightly wrong. The shading looks flat. The whole piece feels more like a cartoon than a realistic rendering.
If this sounds familiar, take a breath — you’re not alone, and you’re definitely not untalented. Every artist who now draws with jaw-dropping realism once stood exactly where you are. The difference between a beginner’s drawing and a realistic one usually isn’t raw talent; it’s a handful of specific, fixable habits that quietly sabotage otherwise promising artwork.
Let’s break down the 15 most common mistakes beginners make — and exactly how to fix each one.
1. Drawing What You Think You See, Not What’s Actually There
This is the single biggest reason beginner drawings look unrealistic. Your brain is wired to draw symbols — a circle for an eye, a triangle for a nose — rather than the actual shapes in front of you. This is called “symbolic drawing,” and it’s a habit formed in childhood that most people never unlearn.
The fix: Practice pure observation. Try drawing an object upside down, or cover half your reference and only look at contours and shapes, not what you know the object “should” look like. This forces your brain to stop relying on symbols and start recording reality.
2. Ignoring Proportions
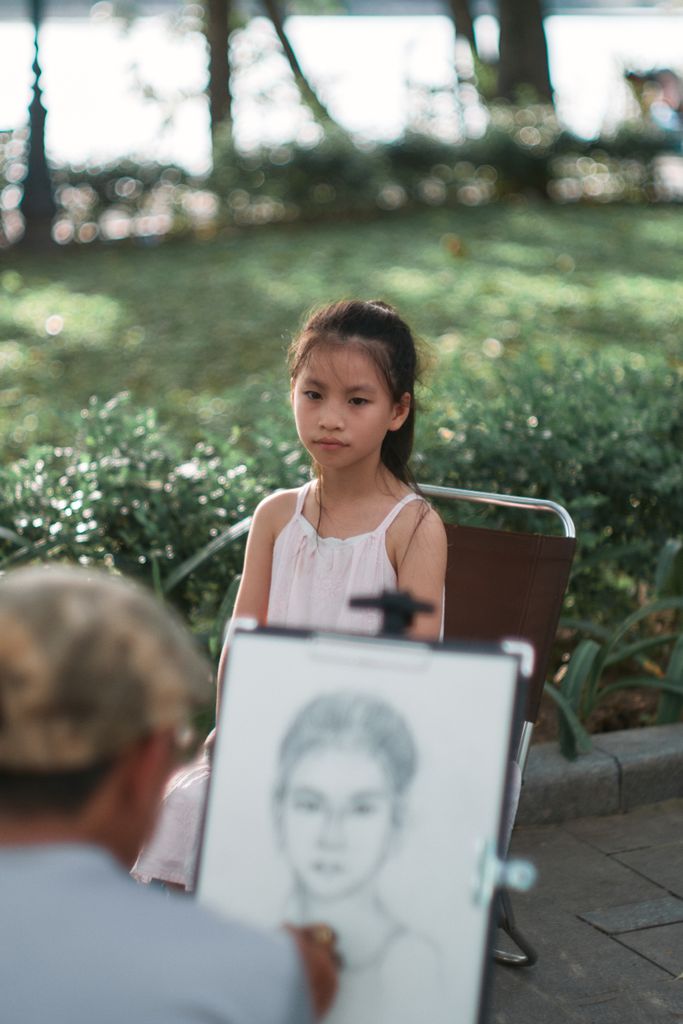
Even slightly inaccurate proportions can make an entire drawing feel wrong, even if you can’t immediately pinpoint why. A forehead that’s 10% too tall, eyes set a fraction too close together, or a torso that’s too long compared to the legs — these small errors compound into a drawing that just doesn’t sit right.
The fix: Use measuring techniques like the pencil method (holding your pencil at arm’s length to measure relative sizes) or grid-based drawing, where you overlay a grid on your reference and your paper, transferring shapes square by square.
3. Skipping the Underlying Structure
Beginners often jump straight to details — eyelashes, wrinkles, individual hair strands — before establishing the basic structure underneath. Without that foundation, details end up floating on top of inaccurate shapes, and no amount of fine detail can fix a broken structural base.
The fix: Always start with simple forms. Think in terms of spheres, cylinders, and boxes before you think about eyelashes or fingernails. Build the skeleton before you dress it up.
4. Flat, Inconsistent Lighting
One of the fastest ways to make a drawing look “cartoonish” rather than realistic is inconsistent light direction. If shadows fall in different directions on different parts of the same object, your brain immediately senses something is wrong — even if you can’t articulate why.
The fix: Before you start shading, decide on a single light source and stick with it throughout the entire piece. Squint at your reference photo to simplify what you see into clear light and shadow shapes.
5. Not Understanding Core Shadow vs. Cast Shadow
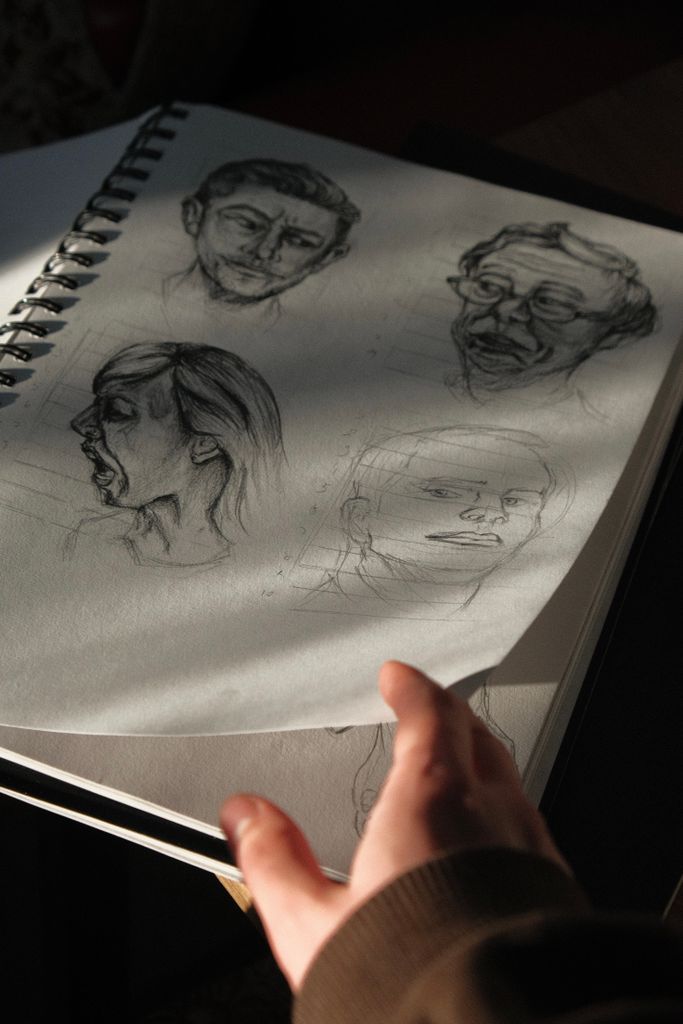
Many beginners lump “shadow” into one category, but realistic shading actually requires understanding several distinct elements: highlight, core shadow (the darkest part on the object itself), reflected light, and cast shadow (the shadow the object throws onto another surface). Skipping any of these makes forms look flat and shading look muddy.
The fix: Study the five elements of value on a simple sphere: highlight, midtone, core shadow, reflected light, and cast shadow. Practice rendering a plain sphere under a single light source until you can identify and place all five convincingly.
6. Overusing Hard, Uniform Outlines
Beginners tend to draw everything with a single, consistent, dark outline — the way a coloring book does. But in reality, edges vary enormously: some are crisp and hard, others soften and blur into the background, especially where light hits an edge directly or where two similar values meet.
The fix: Practice varying your line weight and softness. Use a blending tool or your finger to soften edges where forms curve away from the light, and reserve hard, dark lines only for areas of high contrast, like where a shadow meets a bright highlight.
7. Neglecting Value Contrast
A drawing that stays in the “safe” middle range of grays — never committing to true darks or true lights — will always look washed out and unconvincing, no matter how accurate the linework is. Realism depends heavily on a full range of values.
The fix: Before rendering, create a value study using only three to five tones. Make sure you have genuine darks (not just medium grays) and genuine lights. A full tonal range does more for realism than fine detail ever will.
8. Treating Every Surface the Same Way
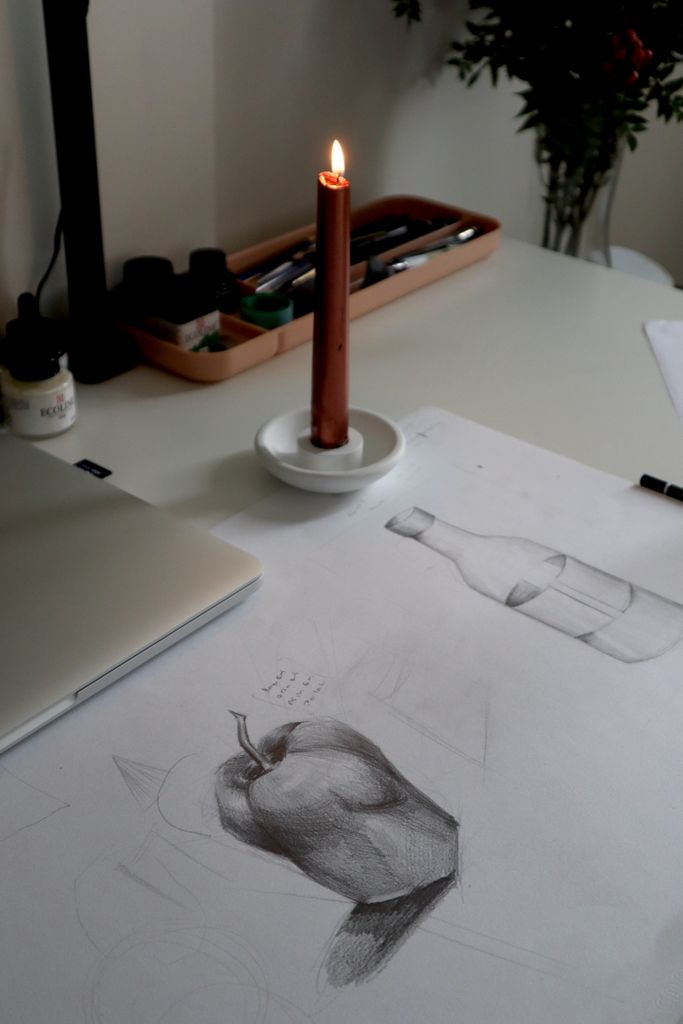
Skin, metal, fabric, glass, and hair all interact with light completely differently. Beginners often shade every surface with the same soft, uniform technique, which flattens the distinct material qualities that make a drawing feel tactile and real.
The fix: Study how different materials behave: metal has sharp, high-contrast highlights and reflections; skin has soft, diffused light with subtle color shifts; fabric folds create clusters of shadow. Observe real objects and practice rendering different materials side by side.
9. Overworking the Details Too Early
It’s tempting to dive into fine details — individual eyelashes, pores, strands of hair — within the first ten minutes of a drawing. But if the broader values and proportions aren’t locked in first, all that detail work often has to be redone or simply looks disconnected from the rest of the piece.
The fix: Work from general to specific. Block in large shapes and values first, refine mid-level forms second, and only add fine detail in the final 10–20% of your process — and usually only in a few focal areas, not uniformly across the whole piece.
10. Making Every Part of the Drawing Equally Detailed
Real vision doesn’t work that way — your eye only sees crisp detail where you’re directly focused, while everything else appears softer. Beginners often render every element with the same intense level of detail, which fights against how the human eye actually perceives a scene and makes the piece look busy rather than realistic.
The fix: Choose a focal point and render it with the highest detail and contrast. Let peripheral areas stay softer, simpler, and lower in contrast. This selective focus is one of the most powerful (and underused) tools for realism.
11. Misunderstanding Anatomy and Underlying Form
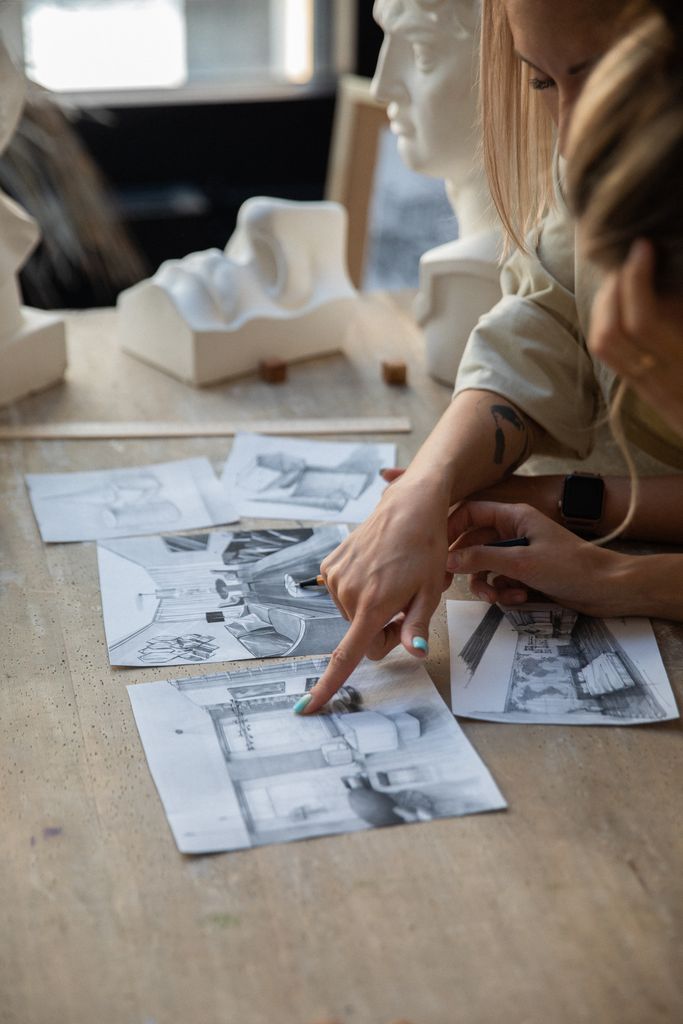
Especially with figures, faces, and hands, beginners often draw the outer contour without understanding what’s happening underneath — the bones, muscles, and volumes that create that contour in the first place. This results in shapes that look “approximately right” from a distance but fall apart under scrutiny.
The fix: Study basic anatomy, even briefly. Understanding that a knuckle is a bony protrusion, or that a cheekbone creates a specific plane change, gives you the “why” behind the shapes you’re drawing, which makes your linework far more convincing.
12. Copying Instead of Understanding
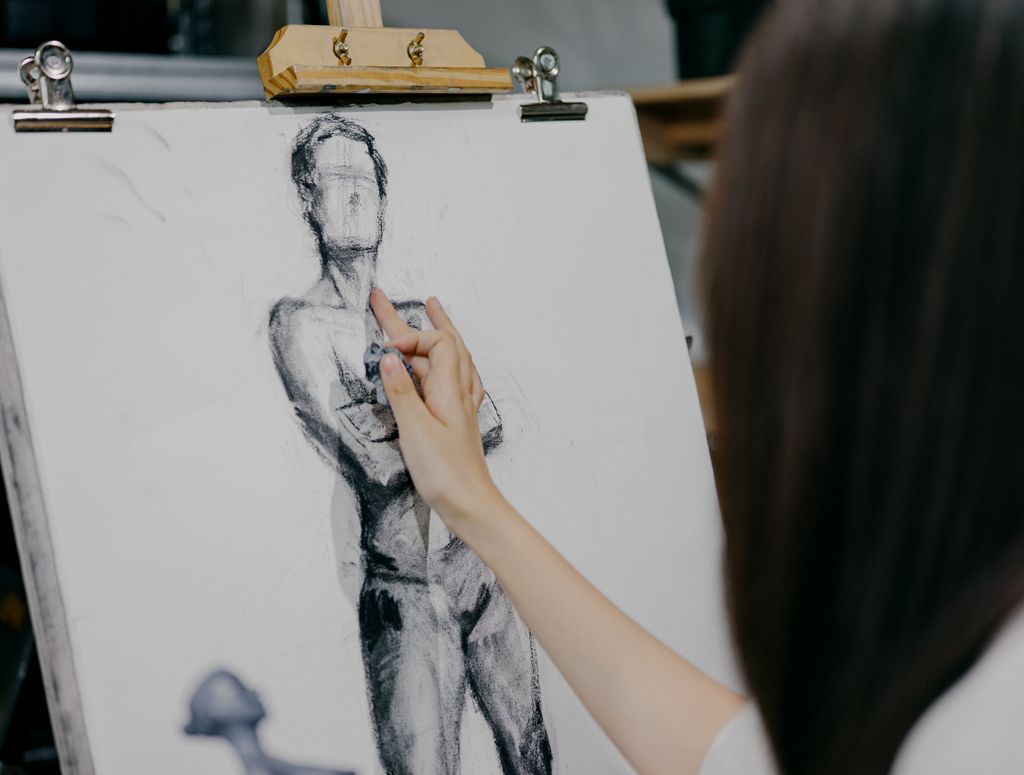
Tracing or copying a reference stroke-for-stroke can produce a decent one-off result, but it doesn’t build the visual understanding needed to draw the same subject again from a different angle or under different lighting. Realistic drawing is fundamentally about understanding form in three dimensions, not memorizing 2D shapes.
The fix: After copying a reference, try redrawing the same subject from memory or from a slightly different angle. If you can’t, you were copying shapes rather than understanding form — go back and study the underlying structure.
13. Ignoring Edges and Reflected Light
Beginners often shade a form with a smooth gradient from light to dark and stop there, missing the subtle reflected light that bounces back into the shadow side of an object from nearby surfaces. Without this reflected light, forms can look like they’re sinking into pure black rather than existing in three-dimensional space.
The fix: Look closely at the shadow side of your reference. There’s almost always a subtle lightening near the edge — reflected light bouncing off a nearby surface or the ground. Adding even a small amount can dramatically increase the sense of volume.
14. Rushing the Process
Realistic drawing is inherently slow. It requires constant comparison between your paper and your reference, frequent stepping back to assess the piece as a whole, and a willingness to make corrections along the way. Beginners often rush toward a finished-looking piece, skipping the comparison and correction steps that separate accurate work from approximate work.
The fix: Build in deliberate pauses. Step back from your drawing every 10–15 minutes, compare it to your reference at a distance, and correct errors before they compound. Realism rewards patience far more than raw drawing speed.
15. Not Studying From Life (or Good References) Enough
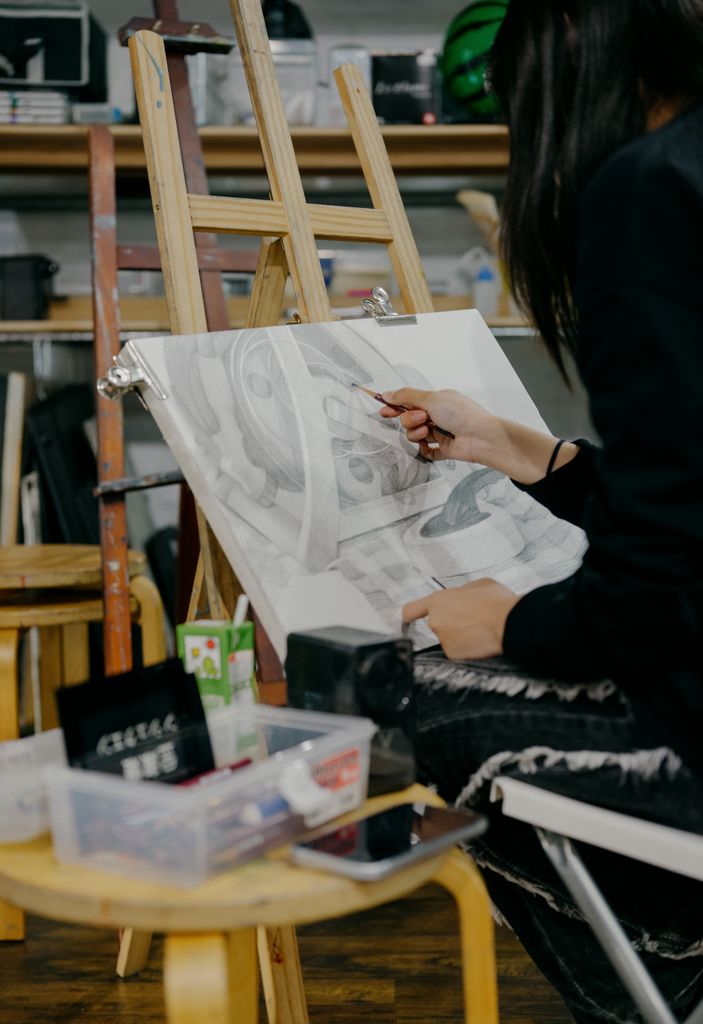
Finally, many beginners simply haven’t logged enough hours observing real subjects — whether that’s live model sessions, still life setups, or high-quality reference photos. Drawing style and technique matter, but observational mileage is what ultimately trains your eye to see accurately.
The fix: Prioritize regular observational practice, even in short sessions. Twenty minutes of focused life drawing several times a week will improve your realism faster than hours of copying stylized art or drawing purely from imagination.
Putting It All Together
If you’ve recognized your own habits in several of these fifteen points, that’s actually great news — it means you now have a clear, specific roadmap rather than a vague sense that “something’s wrong.” Realistic drawing isn’t a mysterious talent reserved for a gifted few; it’s a skill built from a series of learnable habits: accurate observation, structural thinking, understanding light and value, and patient, deliberate practice.
Pick one or two of these mistakes to focus on in your next few drawing sessions rather than trying to fix everything at once. Maybe start with proportion measuring and basic value studies — two foundational skills that will immediately improve almost everything else you draw. As those become second nature, move on to material rendering, selective focus, and anatomical understanding.
Realism is less about a “special gift” and more about training your eye to truly see, and your hand to translate that seeing onto paper with intention. Every artist whose work you admire went through this exact same troubleshooting process. Keep drawing, keep observing, and keep correcting — that consistent, honest practice is what closes the gap between “beginner” and “realistic” faster than anything else.