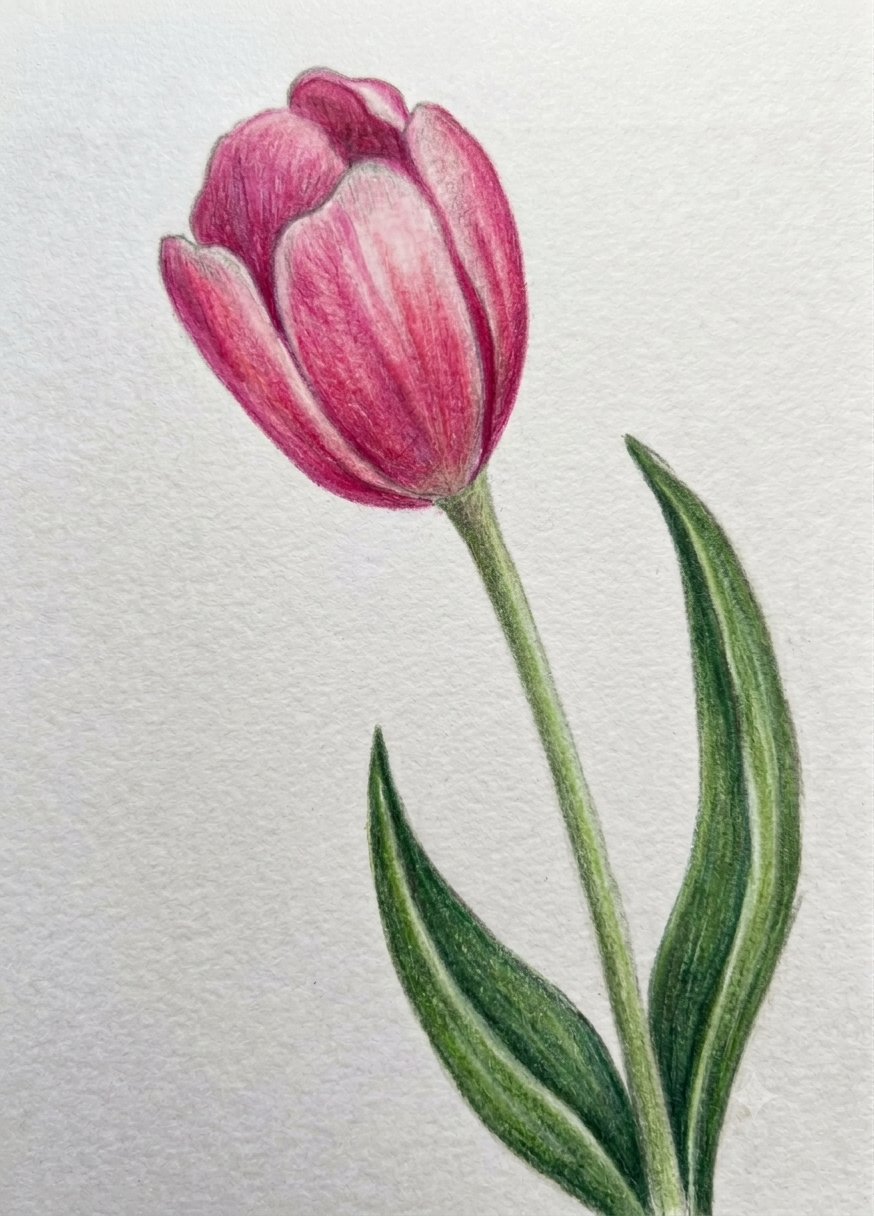
Given here is picture of easiest flower

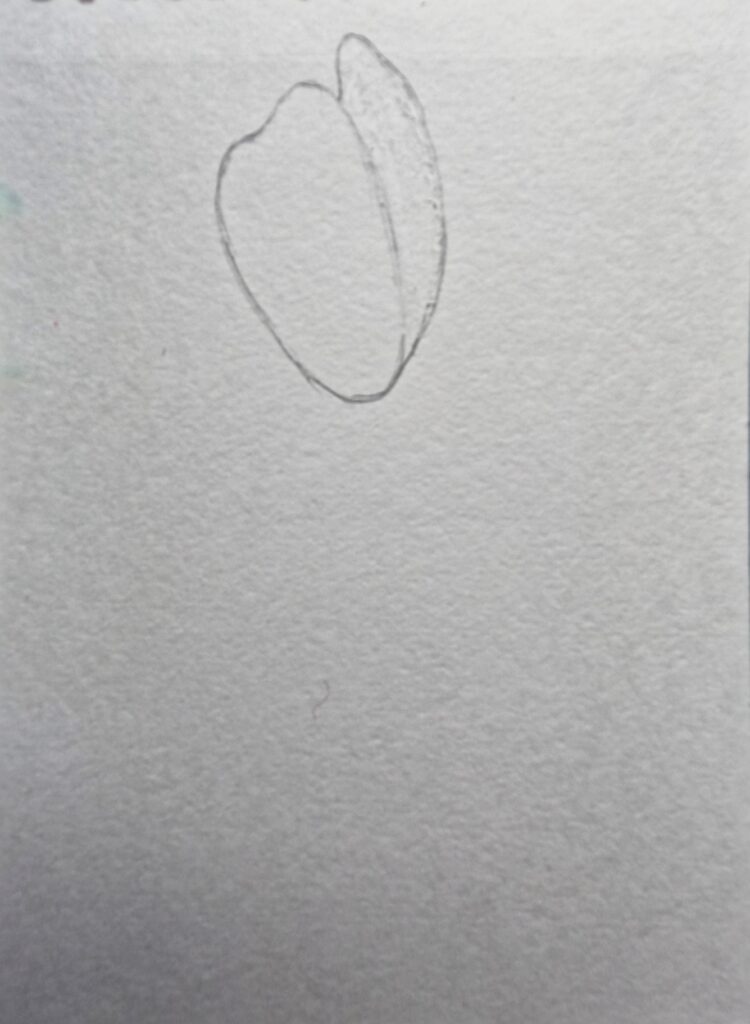
Step 1: Start with a Single Petal
Using a 2B or HB pencil, draw one oval-like petal shape as shown in the image. Keep your strokes light so you can make adjustments if needed. This will be the main petal of your flower.
Step 2: Add the Second Petal
Draw another petal beside the first one, slightly overlapping it. This gives the flower a sense of layering and depth.
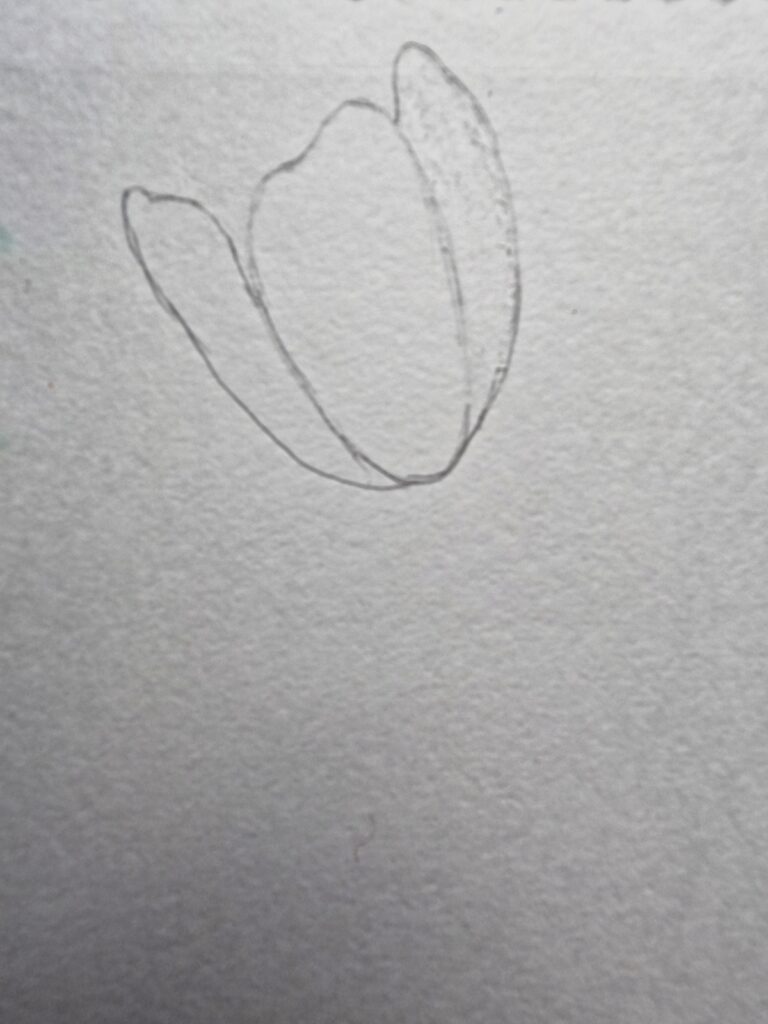
Step 3: Add a Petal on the Other Side
On the opposite side of the main petal, sketch a third petal. Make sure it curves naturally to balance the flower’s symmetry.
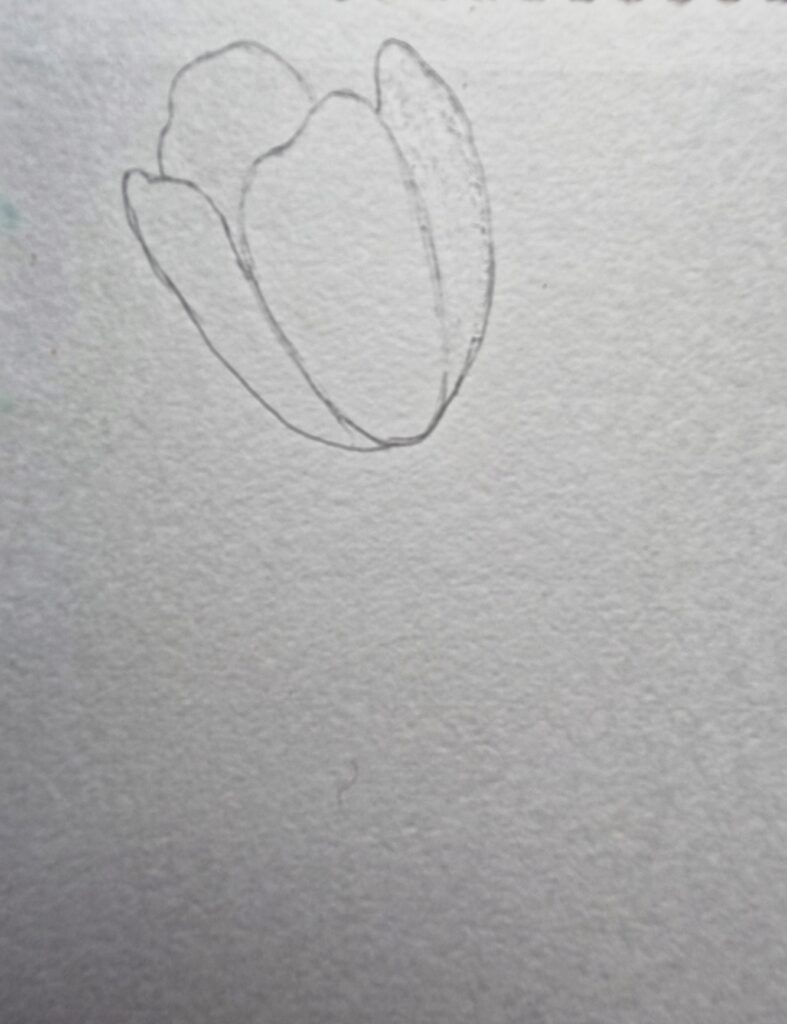
Step 4: Add a Back Petal
Now, draw a fourth petal behind the others. This petal should appear slightly hidden, completing the basic shape of the flower.
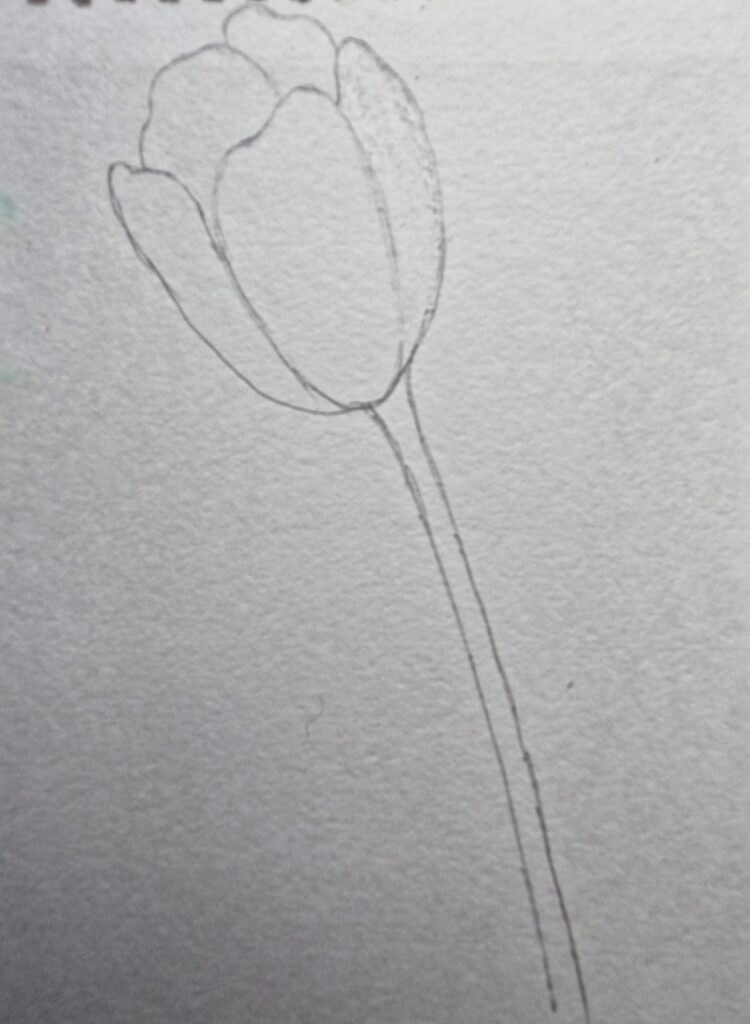
Step 5: Draw the Stem
From the base of the flower, extend a long, smooth stem downward.
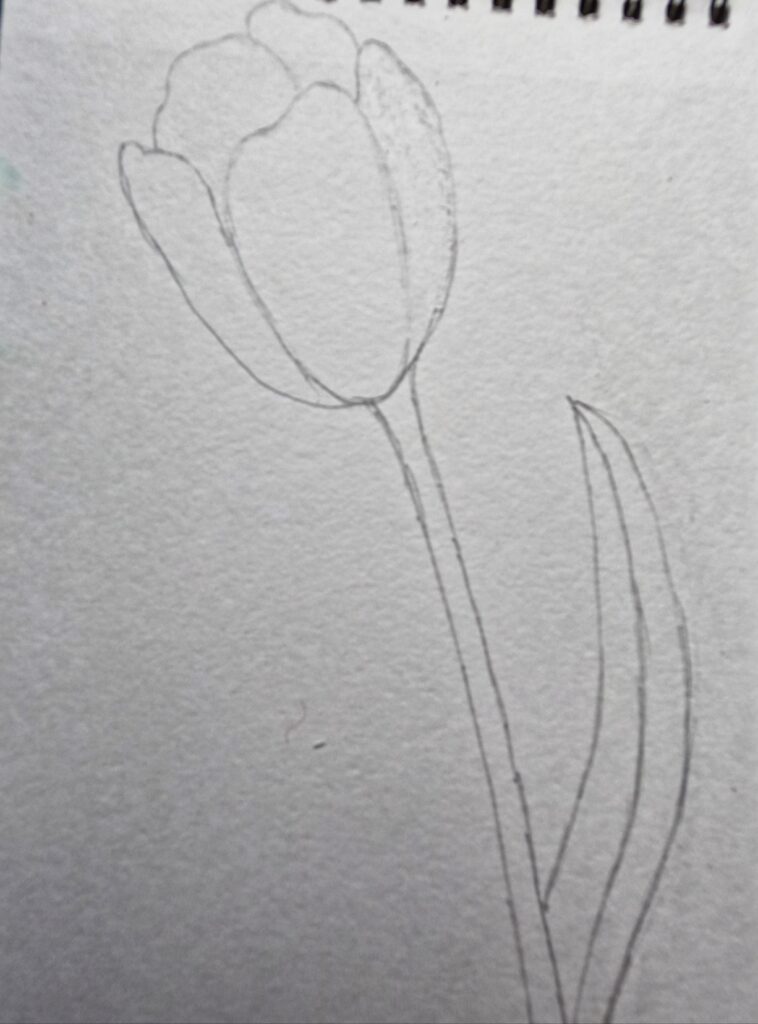
Step 6: Add a leaf on the right side of the flower
Add a long, curved leaf on right side of the stem
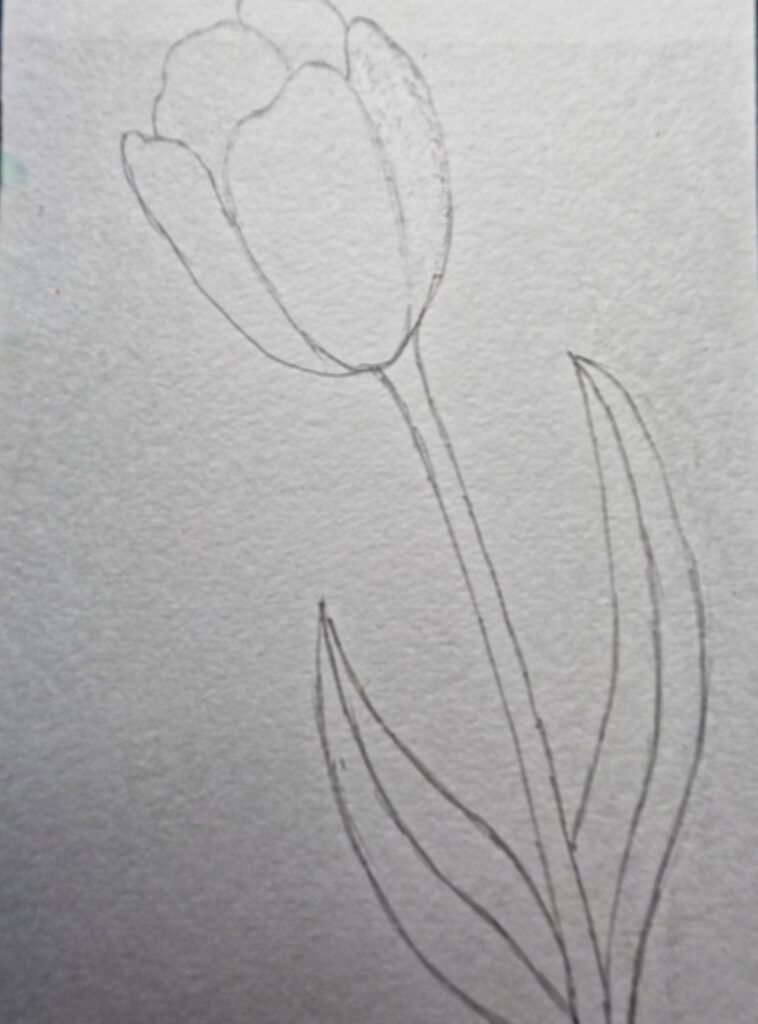
Step 7: Draw the Leaves
Add another short , curved leaf on other side of the stem to give your flower a complete look.
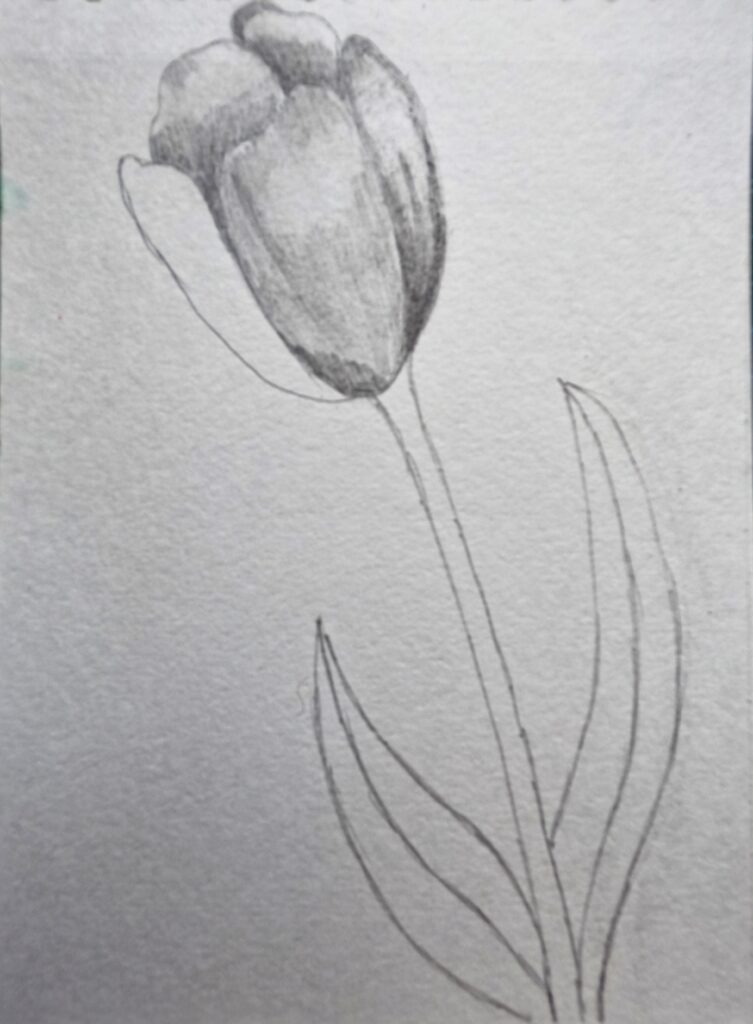
Step 8: Begin Shading the Main Petal
Using a 4B pencil, start shading the main central petal. Apply the shading lightly at first, following the curve of the petal to suggest volume.
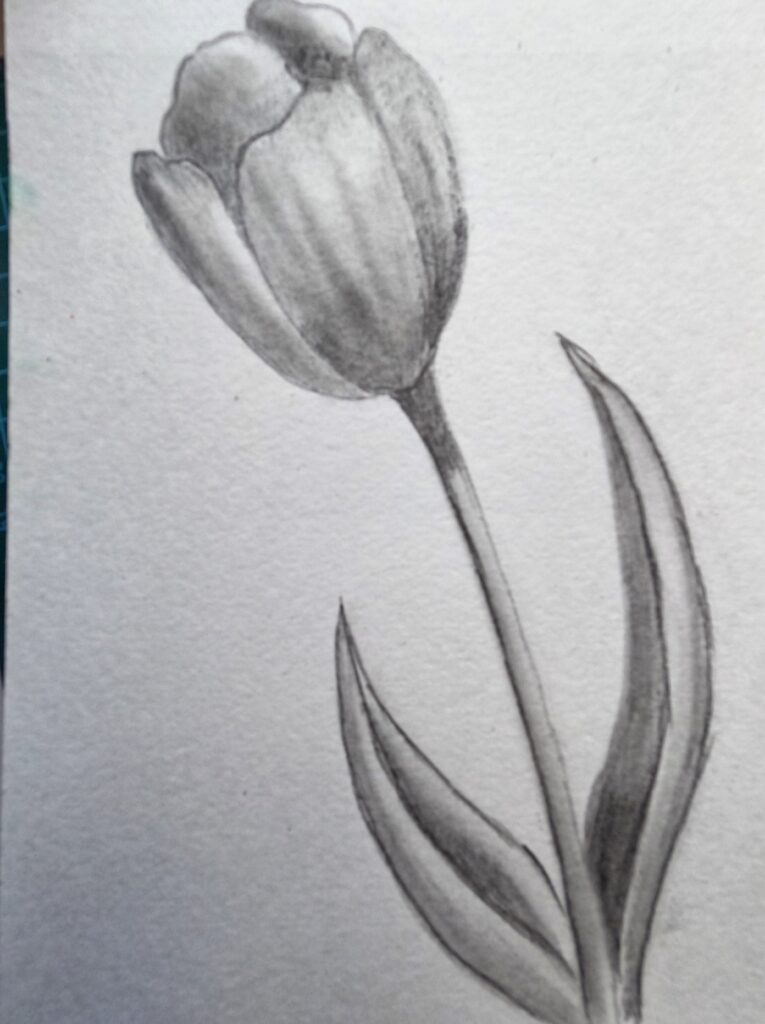
Step 9: Build Depth with More Shading
Continue shading the other petals and leaves. Use 4B for lighter darks and 6B for deeper, darker areas. This contrast will make your drawing look three-dimensional.
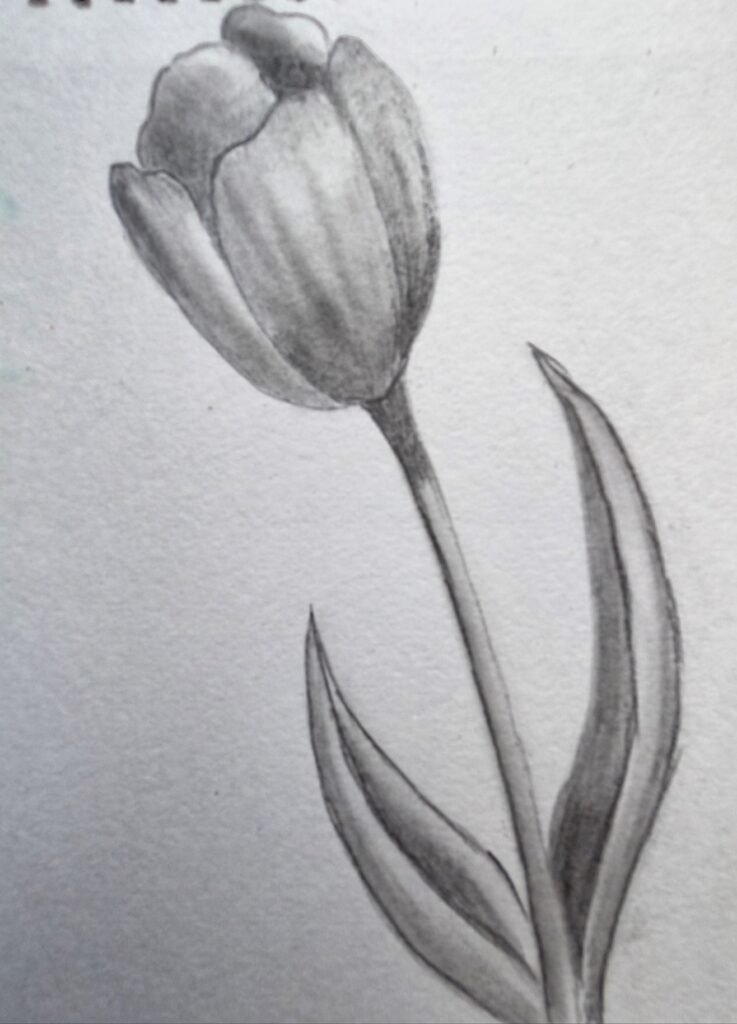
Step 10: Finish Shading the Remaining Parts
Add shading to all petals and leaves, paying attention to where light and shadow naturally fall. This will bring out the texture and form of your flower. Take a paper stump or even a cotton earbud and gently smudge the shaded areas. This will soften harsh lines, blend the tones, and give your flower a smooth, realistic finish.
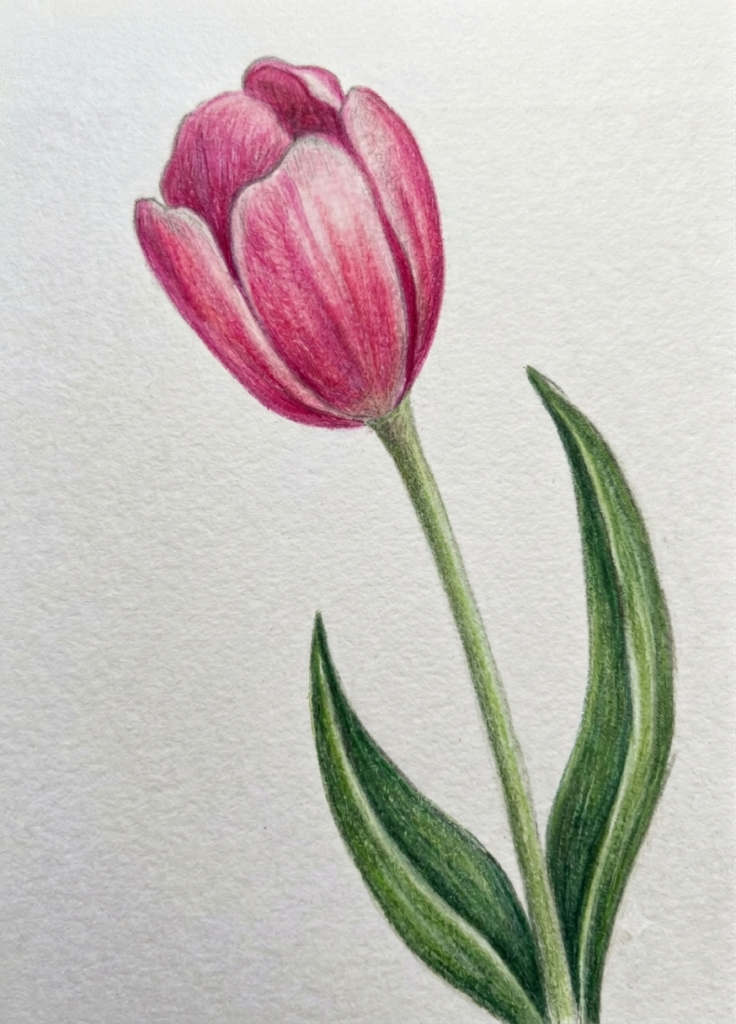
Step 9: Draw a similar flower and color it like this
For the flower, begin with Crimson Lake as the base color to achieve a rich, vibrant red. Build depth by layering Deep Carmine or Permanent Alizarin Crimson in the shadowed areas, allowing the petals to appear more dimensional and velvety. Add subtle highlights by lightly blending a touch of Scarlet Lake or leaving small areas of the paper untouched.
For the leaves, apply Light Green as the base layer. Enhance the form by shading with Viridian Hue or Sap Green, concentrating the darker tones along the veins, undersides, and areas away from the light source. Finish with delicate touches of Yellow Green on the sunlit edges to create a fresh, natural appearance.
And that’s it! You now have a beautifully shaded flower sketch.