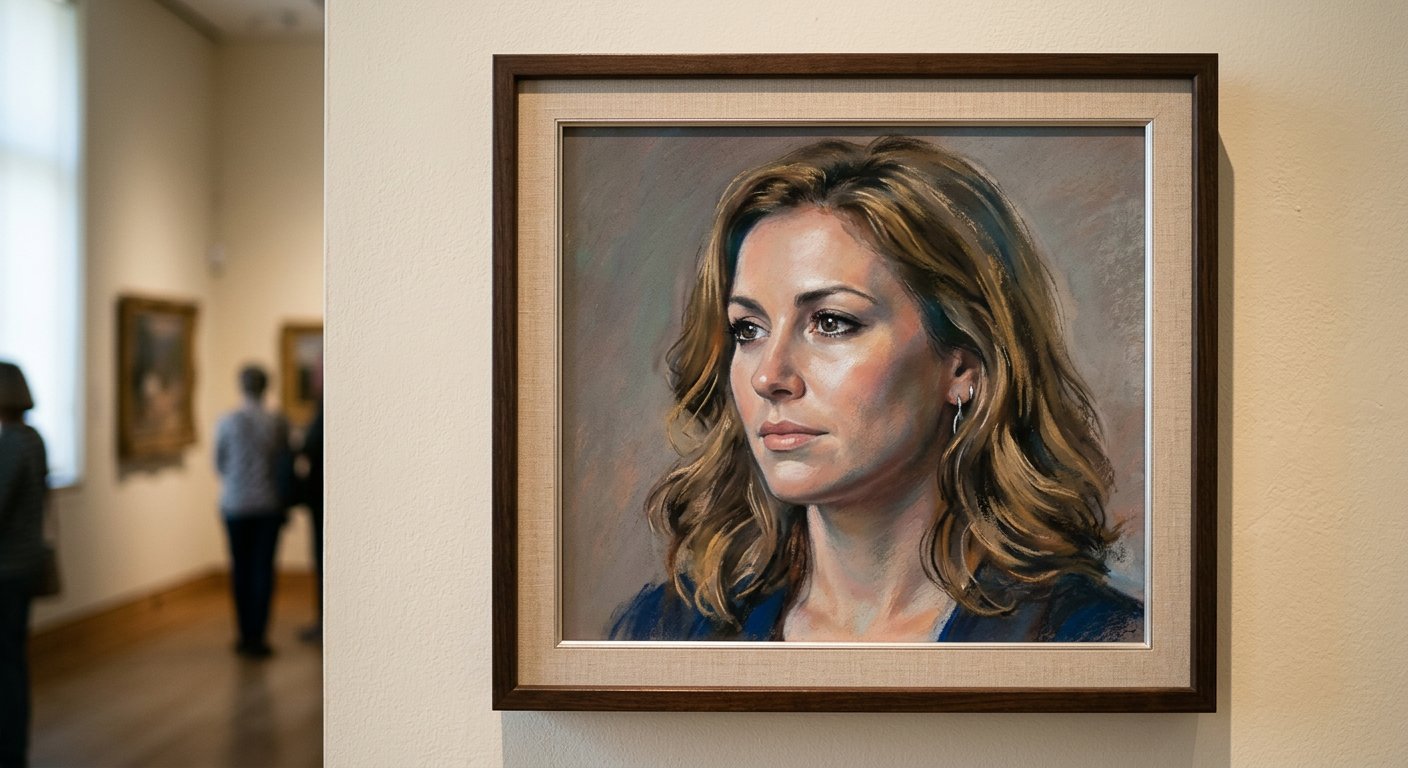
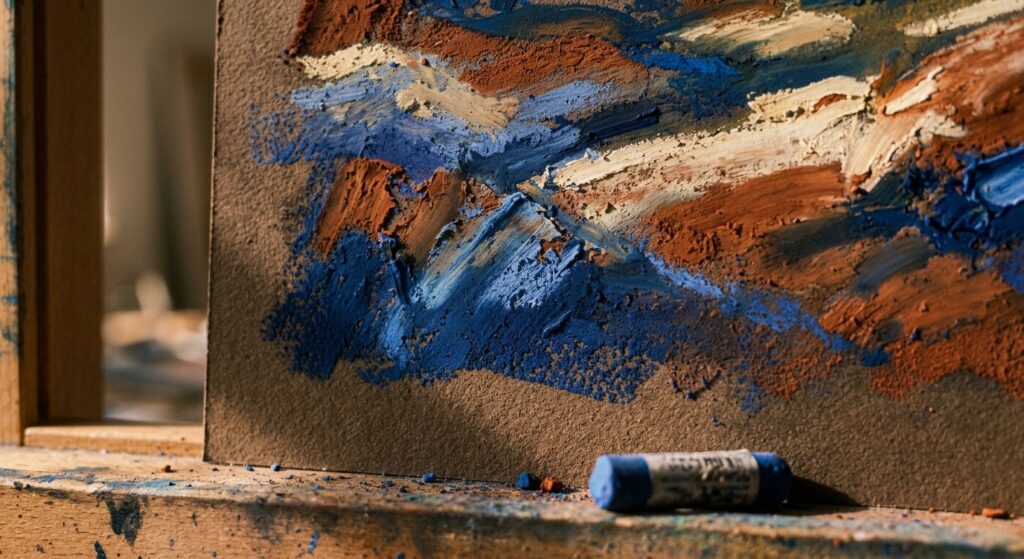
Pure pigment, no drying time, no brushes to clean — and a set of techniques that separate a muddy sketch from a luminous painting.
Pastel has a reputation for being forgiving. That is only half true. It is forgiving because you can lift colour off and start again. It is unforgiving because the tooth of the paper fills up fast, and once it fills, nothing more will stick.
Almost every pastel problem — chalky colour, dead greys, a surface that refuses another layer — traces back to technique rather than talent. Master the handful of methods below and pastel becomes the fastest, most glowing medium you will ever work in.
INSERT THE KADENCE TABLE OF CONTENTS BLOCK HERE (Kadence Blocks > Table of Contents, H2 and H3 enabled. Delete this line afterwards.)
Understanding Pastel Before You Touch the Paper
A pastel stick is dry pigment held together with a tiny amount of gum binder. There is no oil, no acrylic polymer, no water. That is why pastel colours stay exactly as bright as they look in the box, and why the paper’s surface matters more than it does in any other medium.
Hard Pastel, Soft Pastel and Pastel Pencil
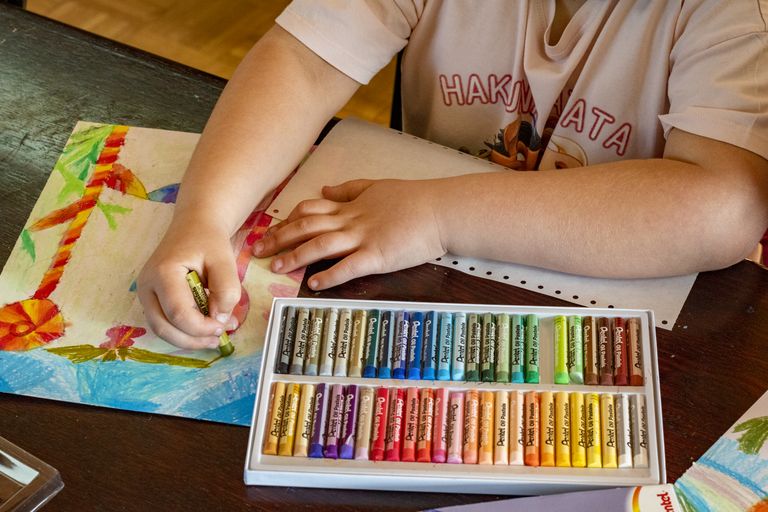
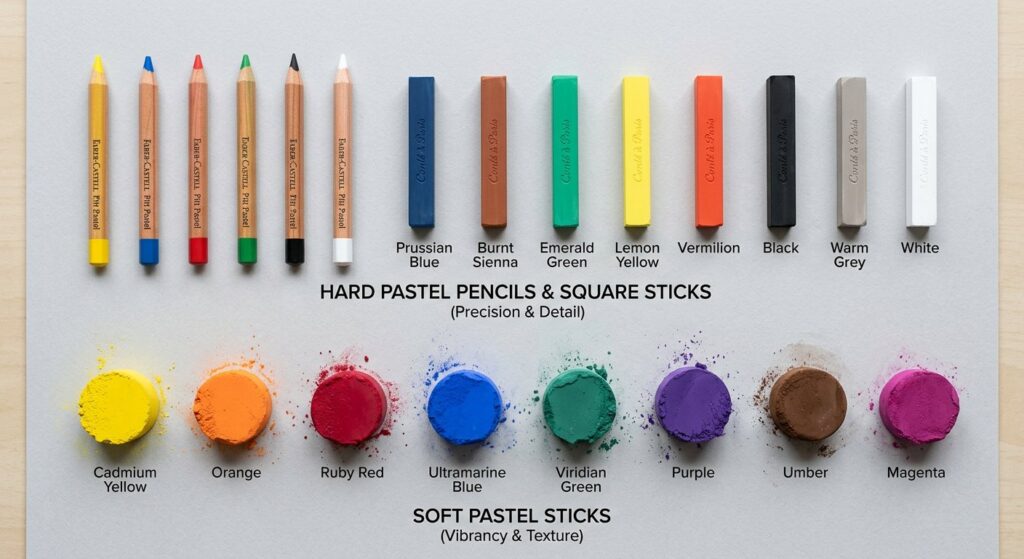
Soft pastels carry the most pigment and lay down thick, buttery colour. They do the heavy work. Hard pastels hold a sharp edge, so they draw fine lines and block in early shapes without clogging the tooth. Pastel pencils finish the smallest details — eyelashes, twigs, whiskers — at the very end.
Paper Is Half the Technique
Smooth cartridge paper holds one thin layer and then stops. Sanded paper — the kind with a gritty, sandpaper-like surface — grips layer after layer, which is what makes rich, deep pastel paintings possible. Toned paper in mid grey, sand or deep blue also does something remarkable: it lets you work in three values at once, adding both your darks and your lights from the start.
Six Core Techniques Every Pastel Painter Must Master
1. Start With an Underpainting
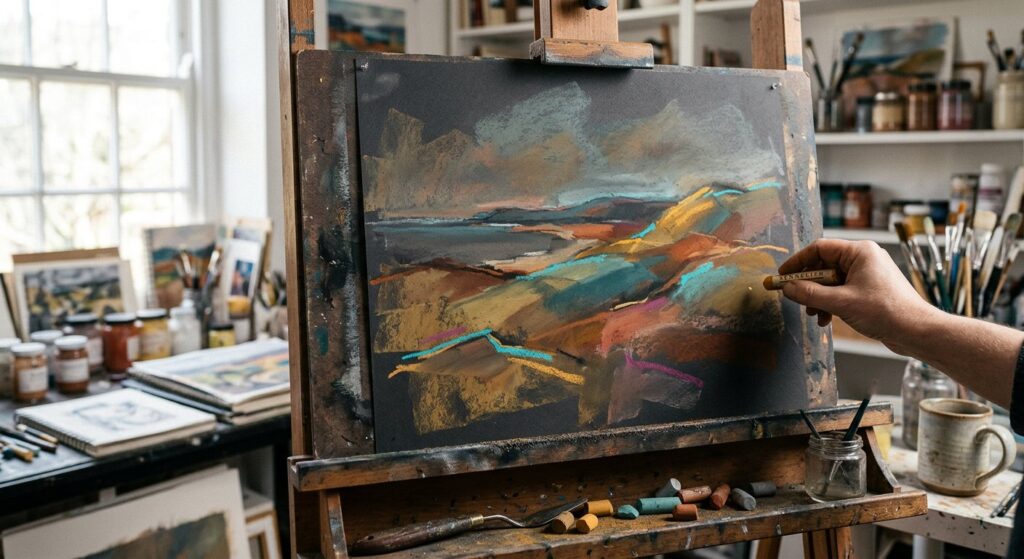
Covering white paper stroke by stroke is slow and leaves pale gaps. Instead, block in the whole composition first using hard pastels laid on their side, then either wipe it back with a rag or wash it with a little odourless thinner or water. You now have a stained, toned ground with your values already mapped, and every layer above it sits on colour instead of on white.
2. Work Dark to Light
Dark pigment is easy to cover; light pigment is almost impossible to remove once pressed in. Build your shadows and midtones first, then bring the highlights up on top. If you reverse this order, you will spend the rest of the painting trying to rescue muddy lights.
3. Layer, Do Not Overwork
Place each stroke once, lightly, and move on. Colour deepens through stacking transparent layers, not through rubbing one stroke harder. The moment you grind a stroke into the tooth, you close it and lose the layers above it.
4. Blend With Restraint
Fingers are warm and oily, so they push pigment into the paper and leave greasy patches. Use a paper blending stump, a folded tissue or a soft brush, and blend only where the eye expects a soft transition — skies, shadows, skin. Leave crisp strokes in the focal area. A painting with no visible stroke reads as a photograph; a painting with no blended area reads as a scribble.
5. Mix Optically, Not Physically
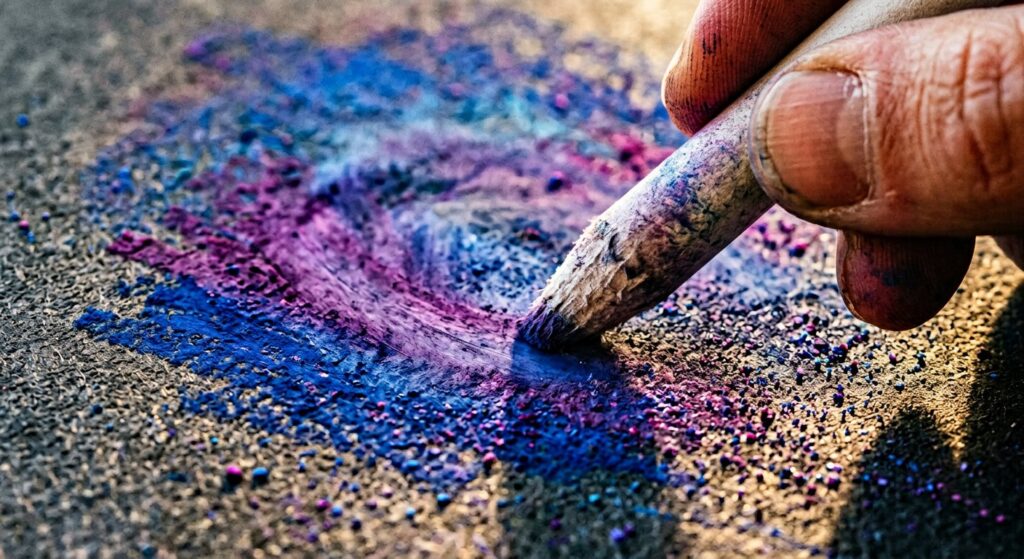
Rubbing blue and yellow together gives you a flat, chalky green. Laying blue strokes next to yellow strokes gives you a green that shimmers, because your eye does the mixing. Keep hatches of broken colour in foliage, water and shadows and let the viewer’s eye finish the job.
6. Scumble and Sgraffito for Texture
Scumbling means dragging a light colour lightly across a darker layer so the underlayer breaks through — perfect for mist, foam and soft fur. Sgraffito is the reverse: scratch back through a top layer with a pointed tool or a rubber tip to reveal sharp lines of grass, hair or rigging underneath.
Advanced Moves That Make Work Look Professional
- Colour temperature over colour accuracy. Warm light means cool shadow. Getting this relationship right does more for realism than matching any single hue.
- Save your brightest pastel for last. Your purest white and palest yellow are your highlight reserve. Spend them early and your painting peaks in the first ten minutes.
- Knock back the edges. Soften or grey down anything near the border of the paper. Sharp, saturated edges pull the eye out of the picture.
- Turn the painting upside down. Value errors hide inside recognisable objects. Inverted, they announce themselves instantly.
- Fixative, used sparingly. A light spray between layers restores tooth and lets you keep building. Too much darkens the work and seals the surface permanently.
Five Mistakes That Ruin Pastel Paintings
- Starting on white paper and chasing pale gaps for hours.
- Finger blending everything, which flattens the tooth after two layers.
- Pressing too hard too soon, packing the paper before the painting is built.
- Using black for shadows. Try a deep violet, indigo or burnt umber instead — shadows are coloured, not empty.
- Over-blending the focal point until the one thing you want seen becomes the softest thing on the page.
Preserving and Framing Pastel Work
Pastel never dries, so it stays vulnerable. Store sheets upright with glassine paper between them, never plastic wrap, which traps moisture and smears. Frame under glass with a spacer or a mount so the glass never touches the surface, and keep finished work out of direct sunlight. A light fixative spray helps with transport, but heavy spraying sinks the colour and kills the sparkle that made you choose pastel in the first place.
Frequently Asked Questions
Are pastels good for beginners?
Yes, and better than most media. There is no drying time, no colour shift and no brush control to learn. A small set of twenty-four soft pastels, a few hard pastels and a pad of sanded paper is enough to start, and mistakes lift off with a kneaded eraser.
Is pastel the same as chalk?
No. Chalk is a soft white mineral, usually calcium carbonate. Pastel is finely ground pigment with a gum binder, which is why it comes in hundreds of saturated colours and holds its brightness for centuries. The word “chalk pastel” is a historical misnomer.
What paper is best for pastel?
Sanded pastel paper, in a mid-tone rather than white. The grit holds many layers, and the tone lets you work dark and light from the first mark. Cheap smooth sketchbook paper will accept one thin layer and then refuse everything else.
Do I need to use fixative?
Only lightly, and only when you need more tooth to keep layering. Framed behind glass with a spacer, unfixed pastel survives perfectly well. Heavy fixative darkens the surface and removes the powdery brilliance that is the whole point of the medium.
Are oil pastels the same thing?
No. Oil pastels contain a wax and oil binder, so they stay soft, can be thinned with solvent and never need fixative. Everything in this article applies to soft and hard dry pastels; oil pastel is a different medium with its own rules.
Pick one technique from this list and build a whole study around it. Underpainting on Day 1, optical mixing on Day 2, sgraffito on Day 3. Pastel rewards painters who master one move at a time rather than all of them at once.
Related reading: Soft pastel supplies for beginners · How to paint a pastel landscape step by step · Understanding colour temperature in painting